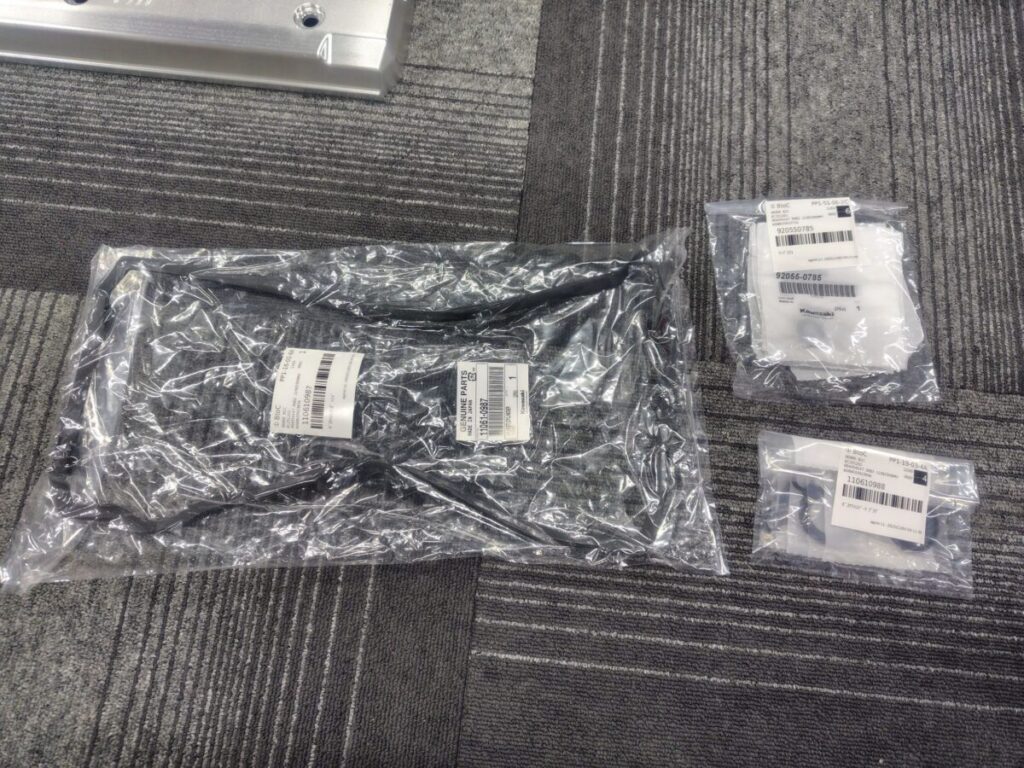
製品紹介にも同じような内容をアップしておりますが…Z900RS同様、外す部品が多かったため、自分の記録用として残しておきます。
製品情報は→https://tenwin.jp/zrx1200-daeg-billet-head-cover-under-development/
I have posted similar information in the product introduction, but as with the Z900RS, there were many parts that needed to be removed, so I will leave it here for my own records.
Product information →https://tenwin.jp/zrx1200-daeg-billet-head-cover-under-development/
まずは、タンク外しから。Z900RS同様、タンクからのガソリンホース、コネクター類の脱着が少々大変でした。ホースを外す際、狭い空間でカプラーのツメを動かすため、小さなマイナスドライバーと、根気とやる気が必要です。
First, remove the tank. As with the Z900RS, it was a bit difficult to remove the fuel hose and connectors from the tank. When removing the hose, you need a small flathead screwdriver, patience, and determination to move the coupler tabs in a tight space.
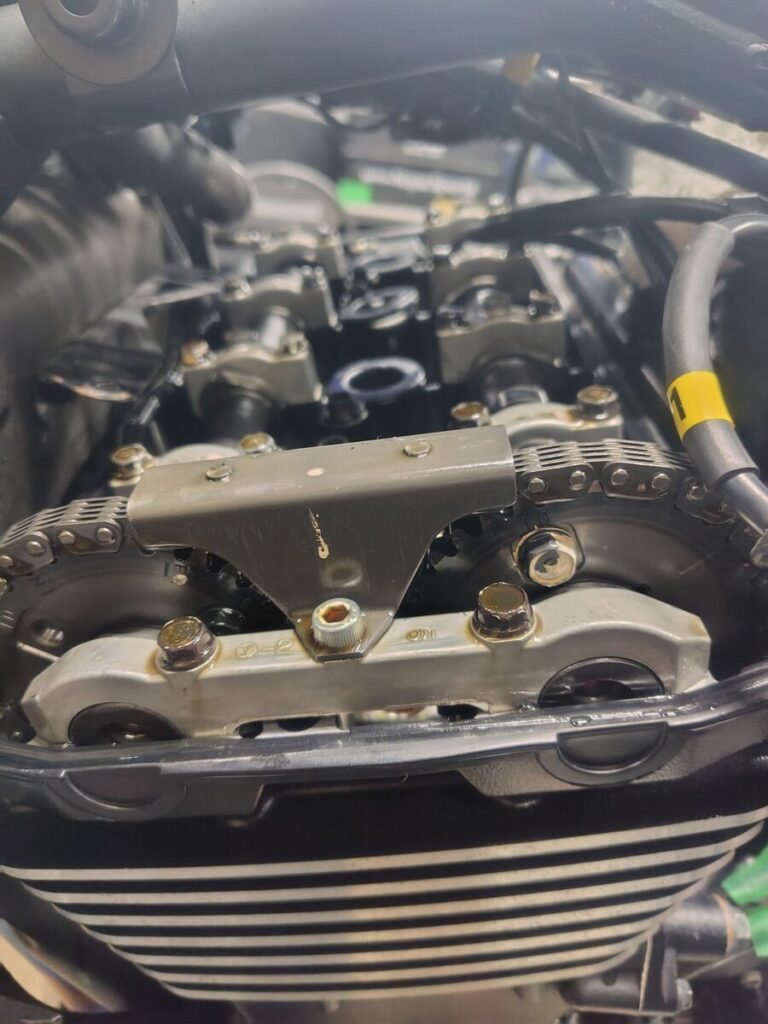
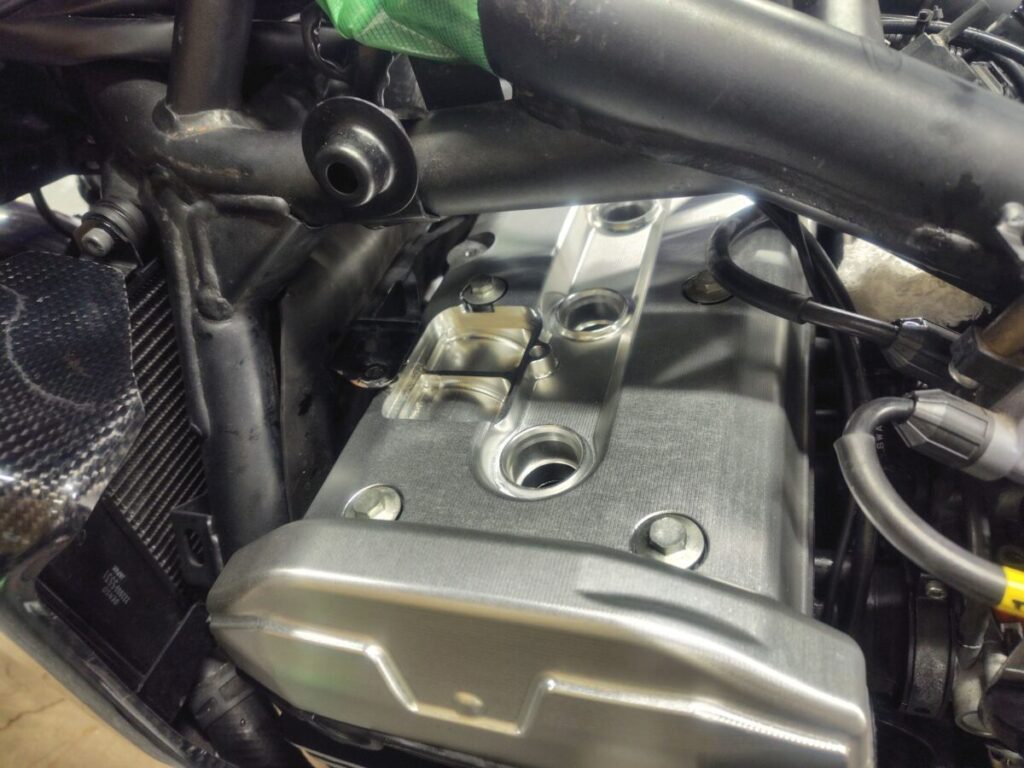
↓次に待ち受けるのはラジエターホース&サーモスタッド外しです。ヘッドカバー上部にあるので、ヘッドカバーを上にずらす作業をするには、必須作業です。クーラントを抜き、着手します。センサーのカプラーも外しておきます。カプラーの接続先が分からなくなってしまうため、目印をしておきます。
↓Next, we need to remove the radiator hose and thermostat stud. These are located at the top of the head cover, so they are essential for moving the head cover up. Drain the coolant and get started. Also, remove the sensor coupler. Mark where the coupler is connected to, as it can become difficult to tell.
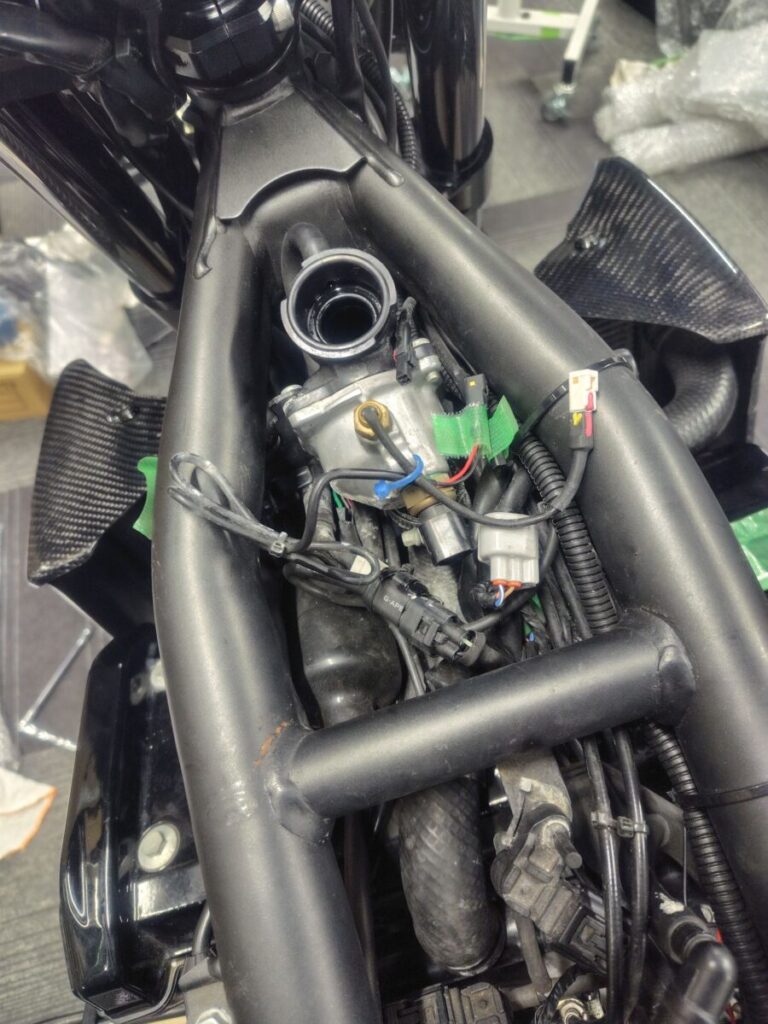
↓大変だったのは、ホースを固定しているバンドが堅いのと、ホース本体も硬化しており、スムーズに外せません。作業される際はホースとバンドの交換をお勧めします。今回の車両はひび割れも無くまだ柔軟性があったためそのまま使用します。交換する際は全ホース交換をオススメします。
↓The difficulty was that the band securing the hose was hard and the hose itself was hardened, making it difficult to remove. When working on this, we recommend replacing the hose and band. In this case, the vehicle had no cracks and was still flexible, so we used it as is. When replacing, we recommend replacing the entire hose.
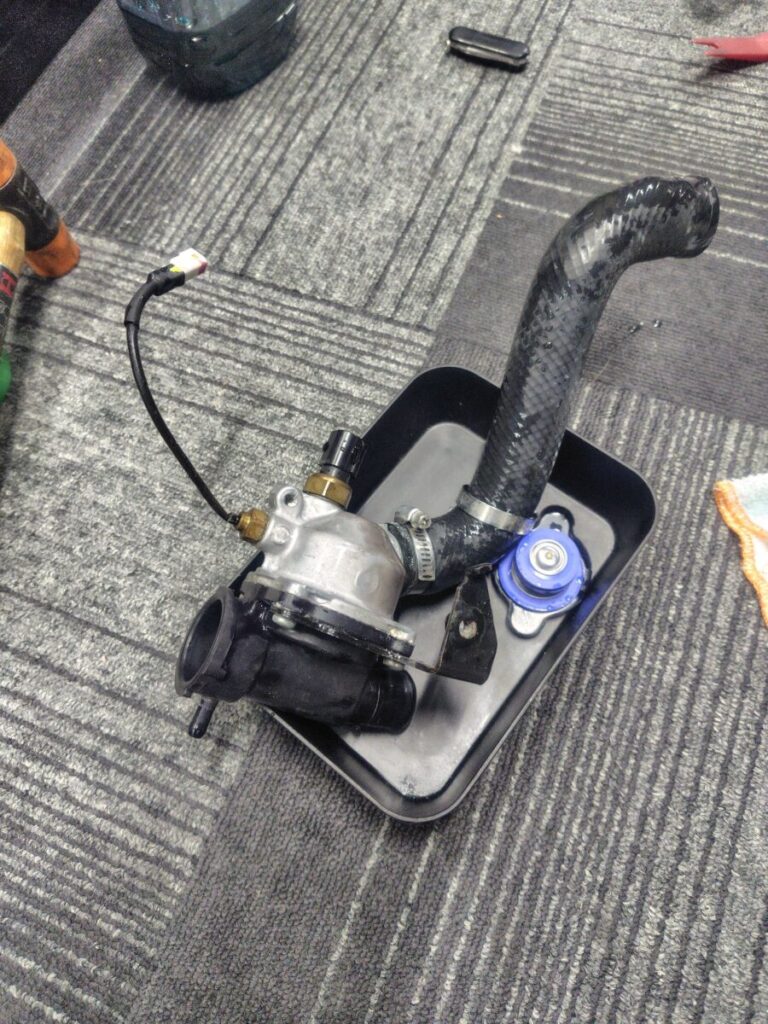
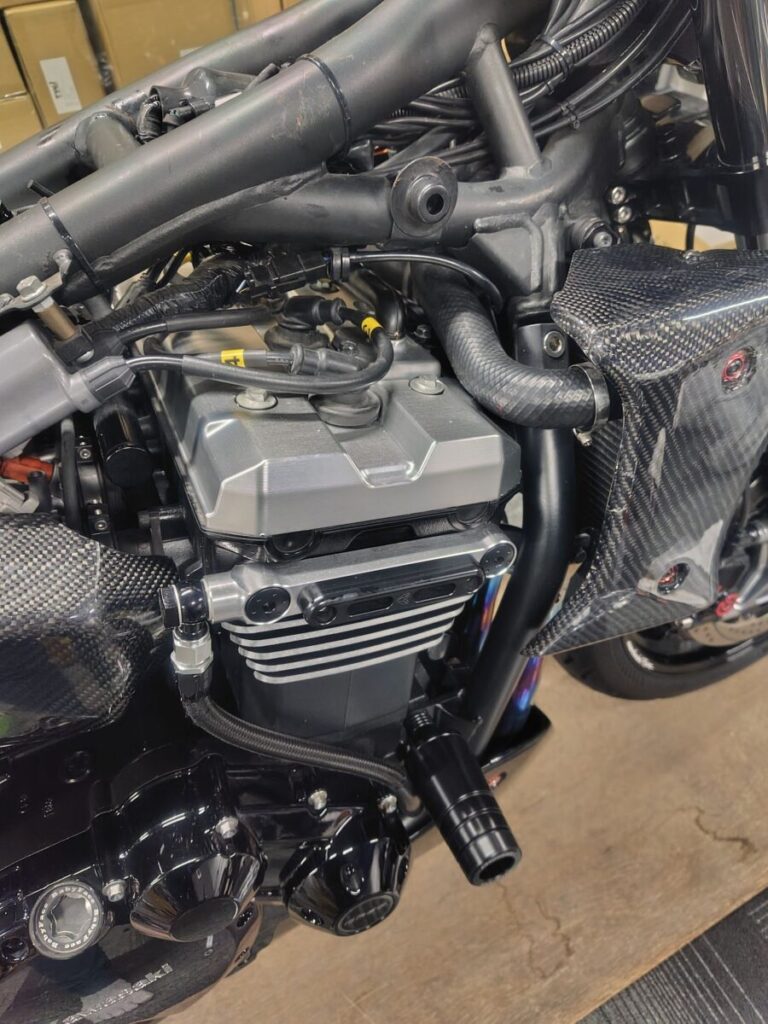
↓やっと外せました。
↓I finally managed to remove it.
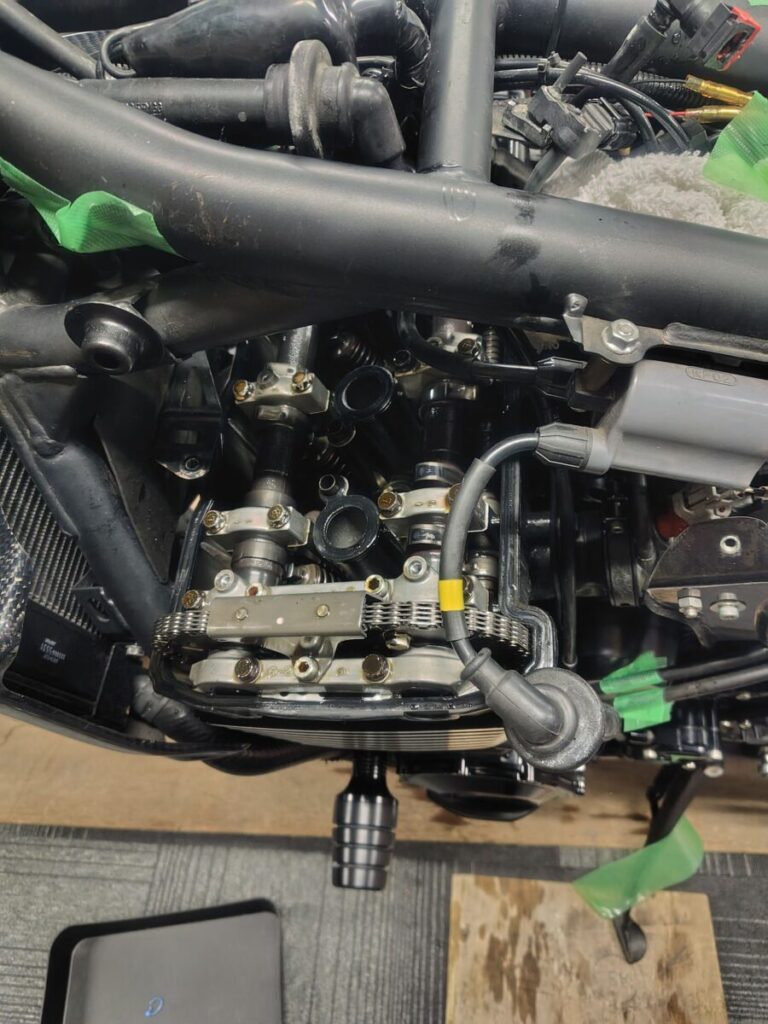
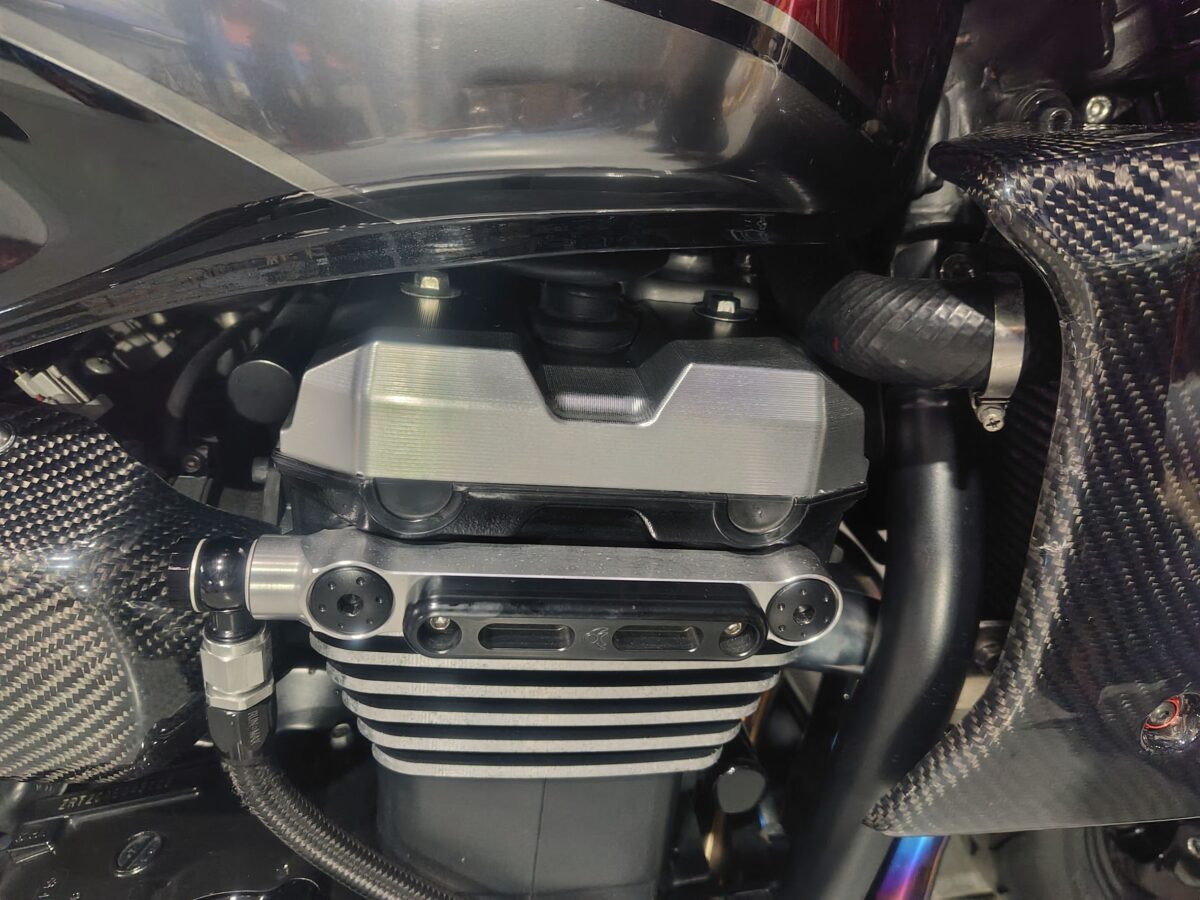
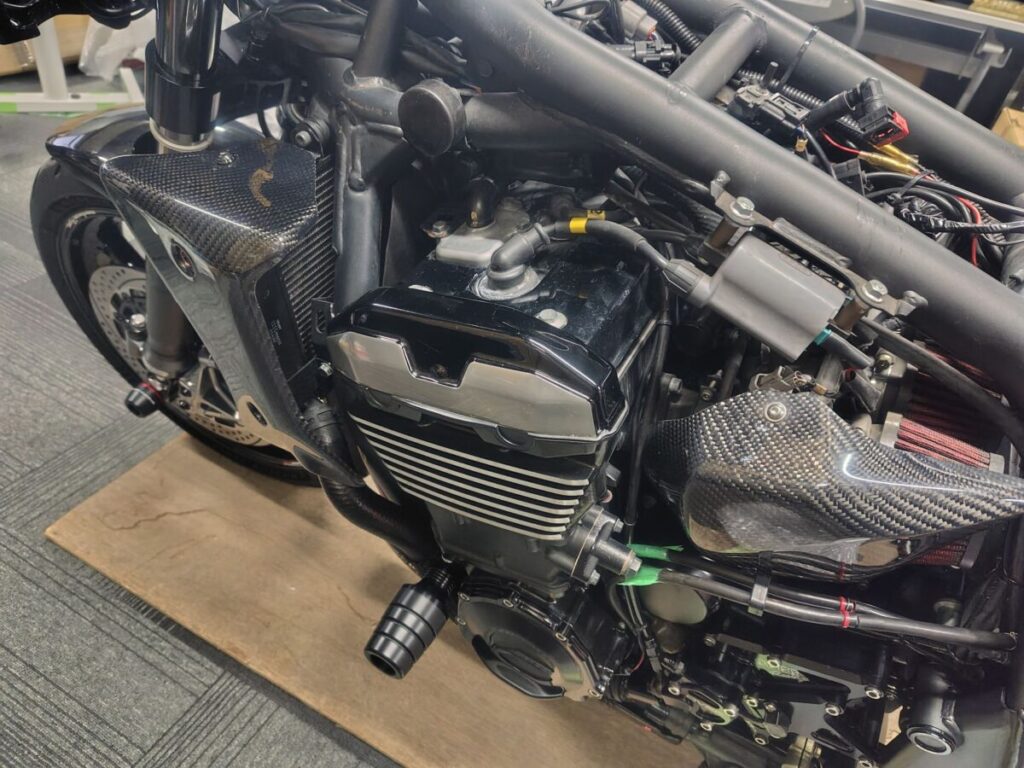
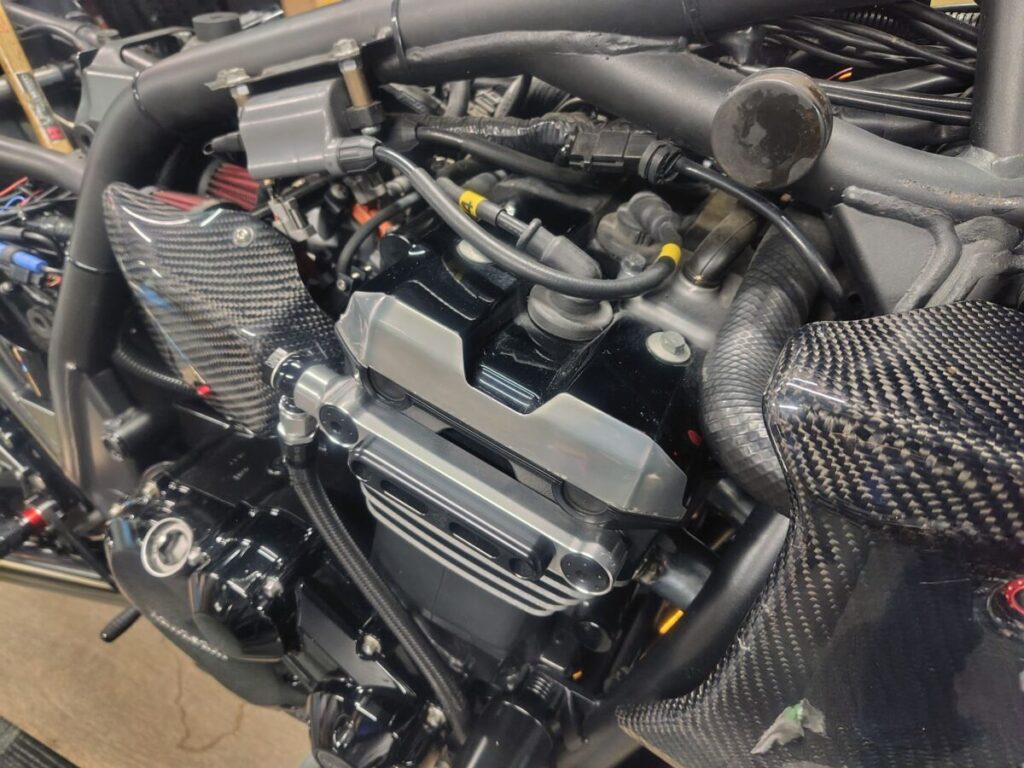
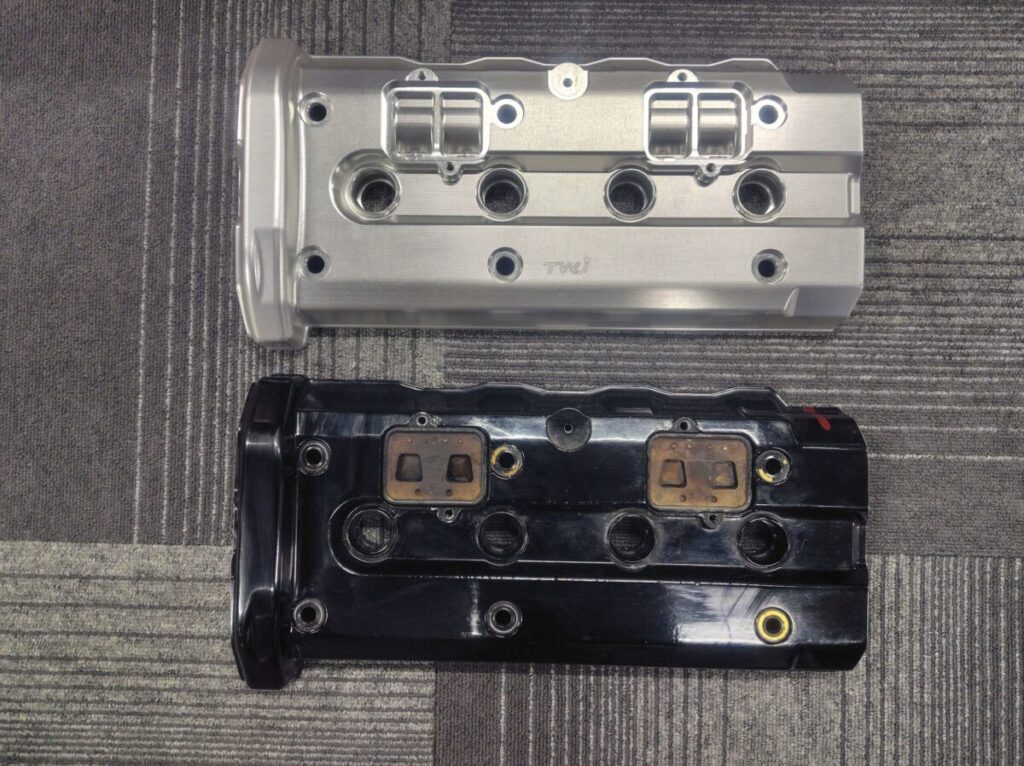
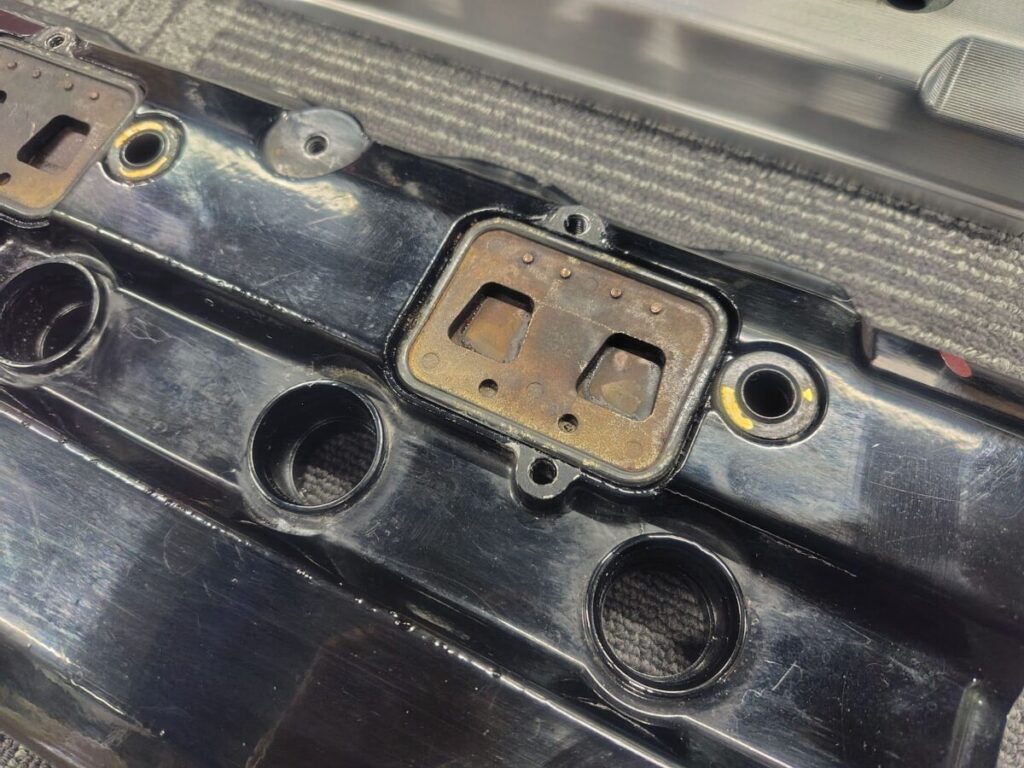
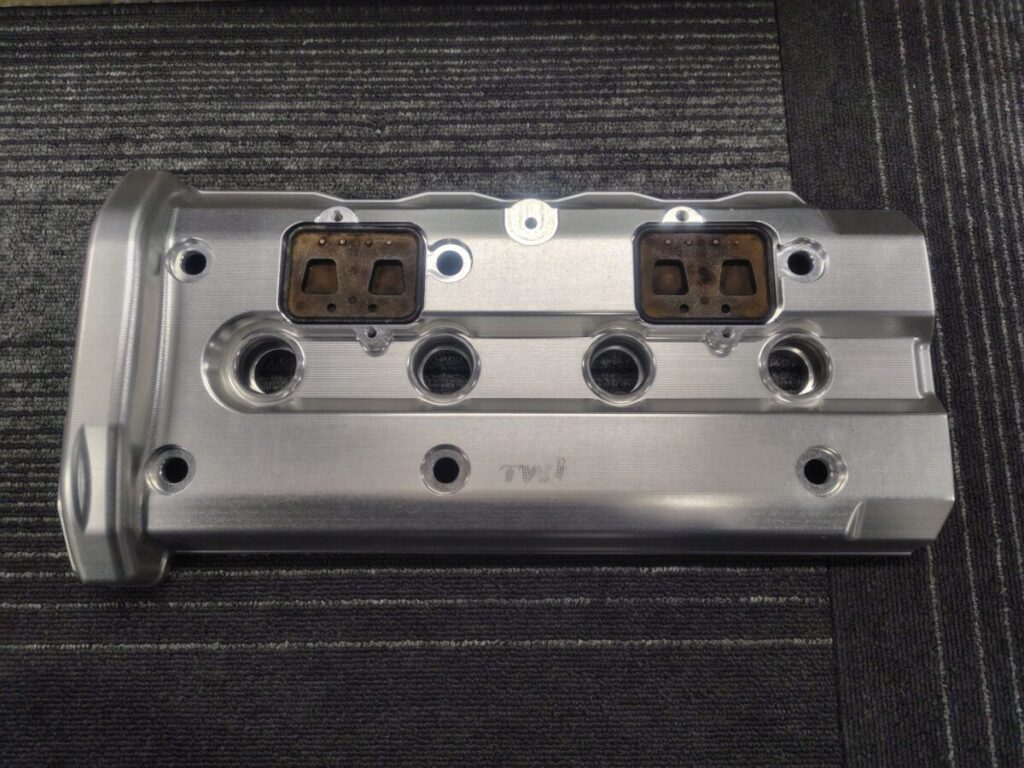
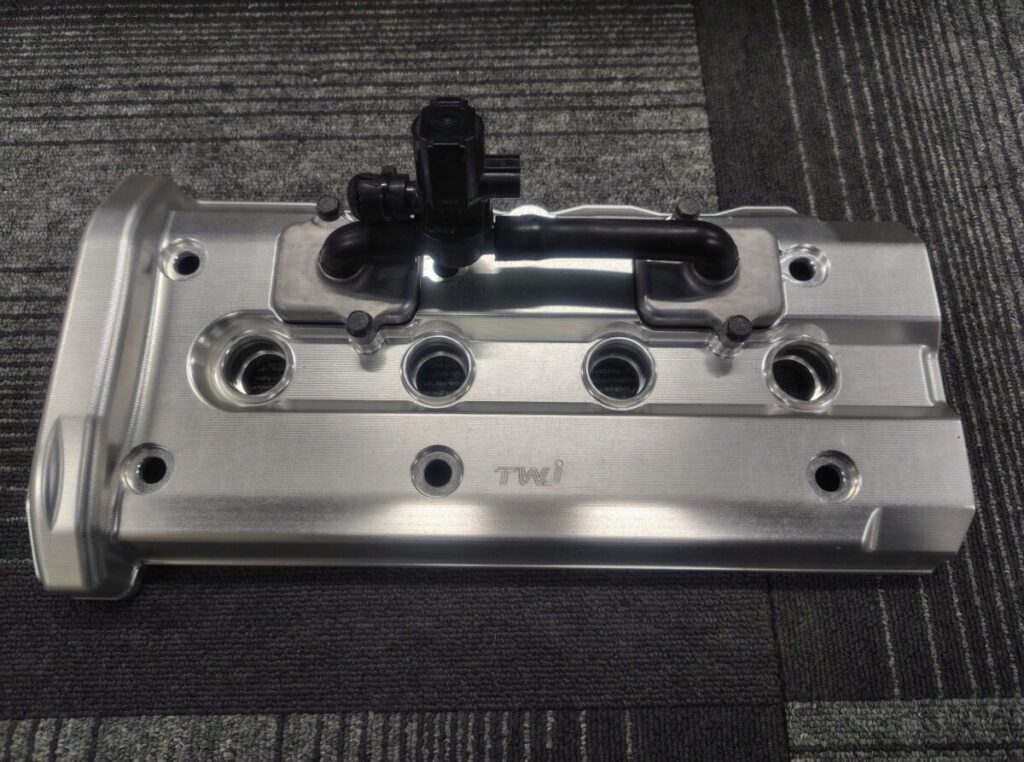
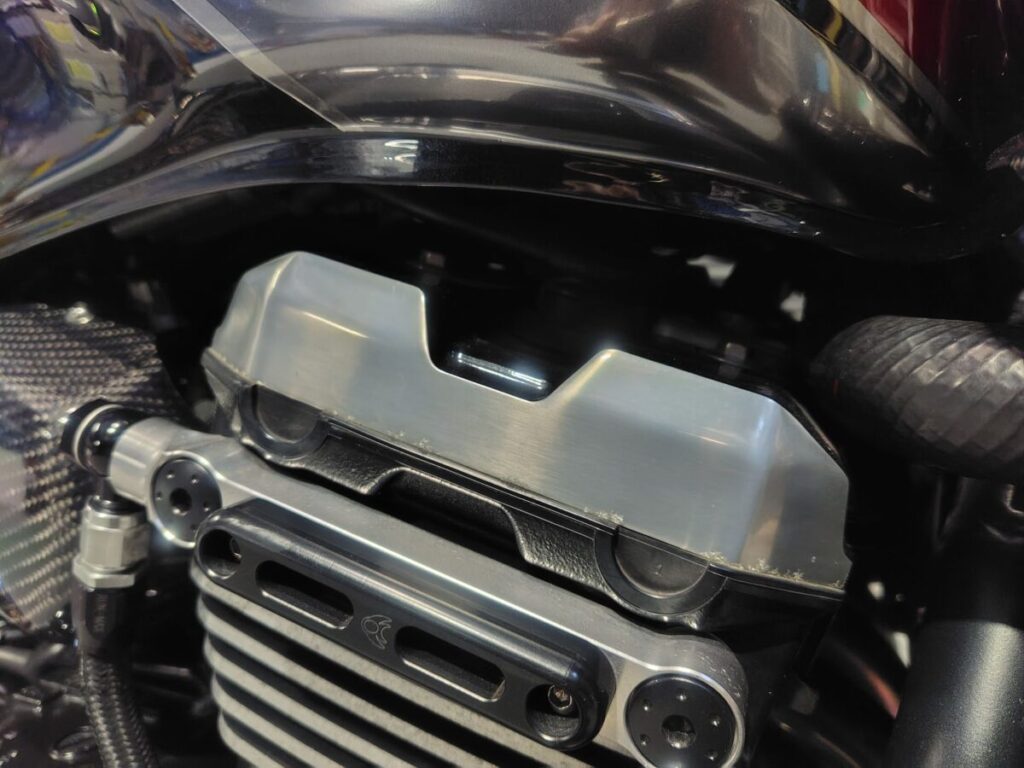
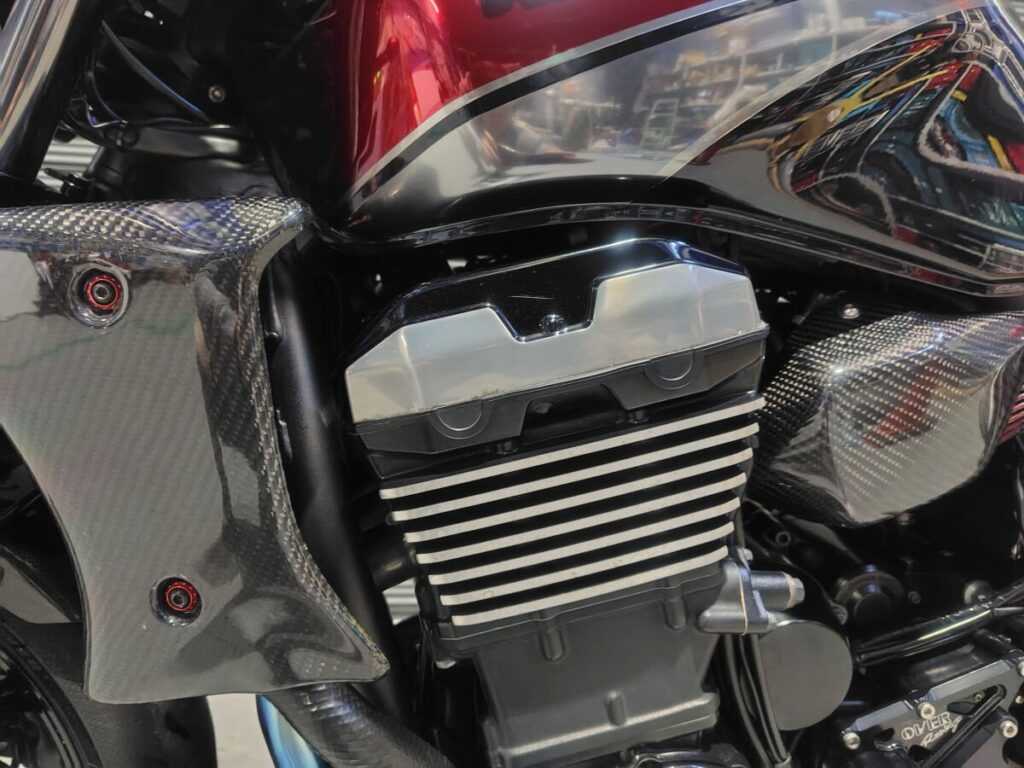
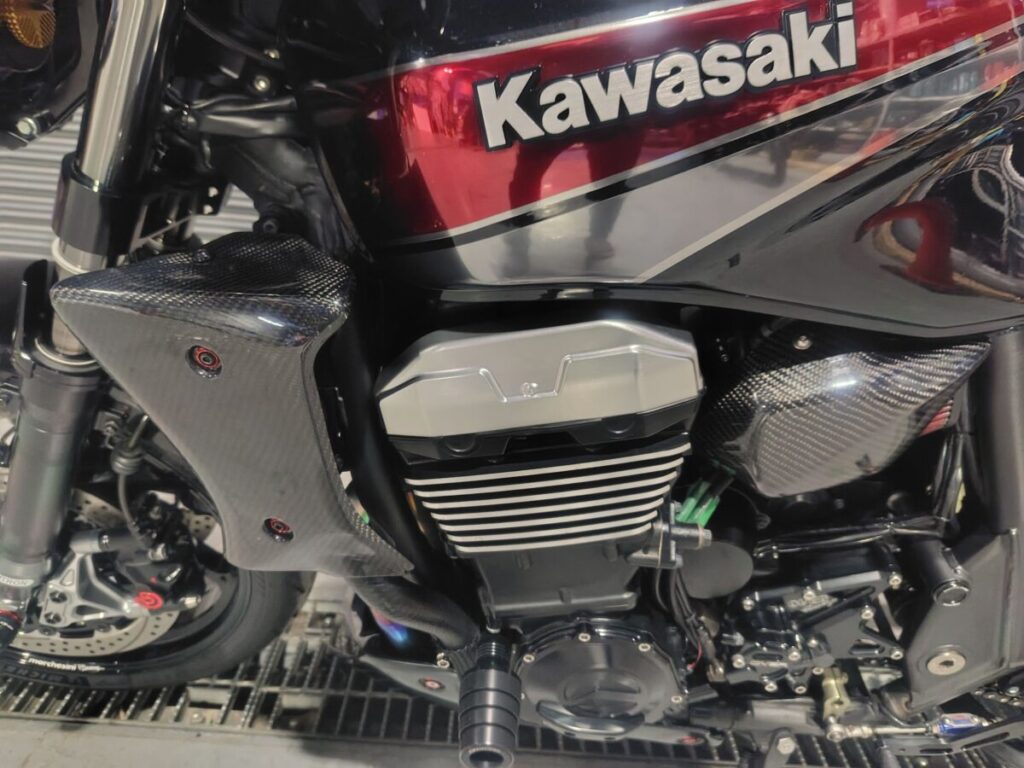
↓純正とTWJヘッドカバーの比較です。
↓Comparison of genuine and TWJ head covers.
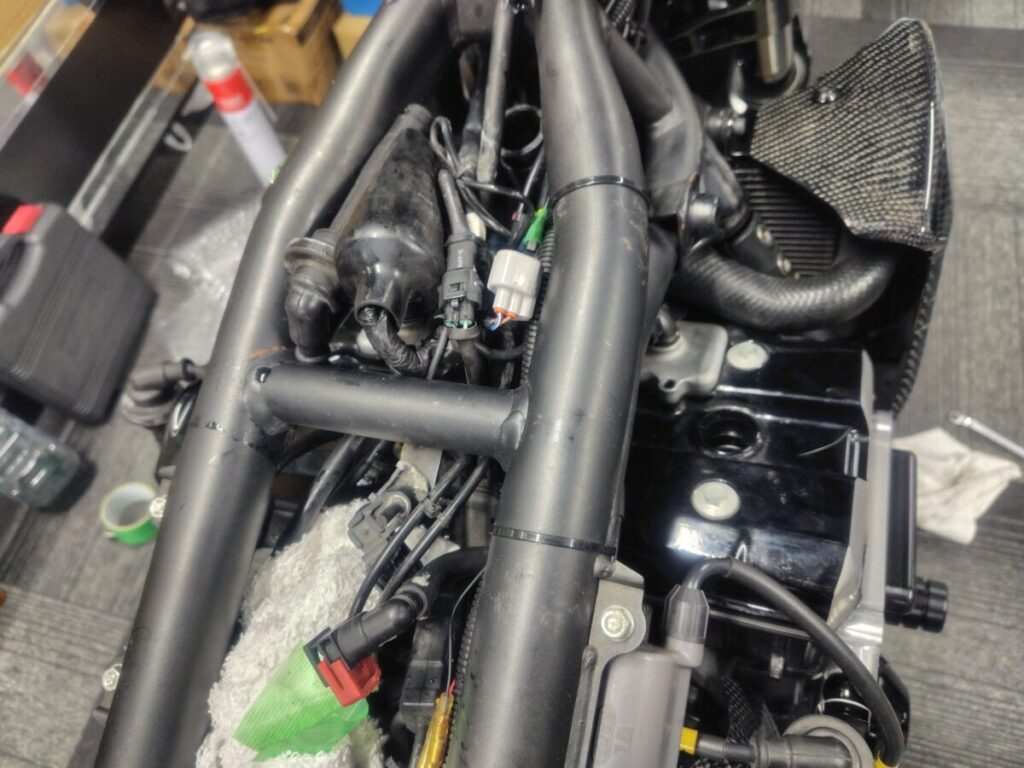
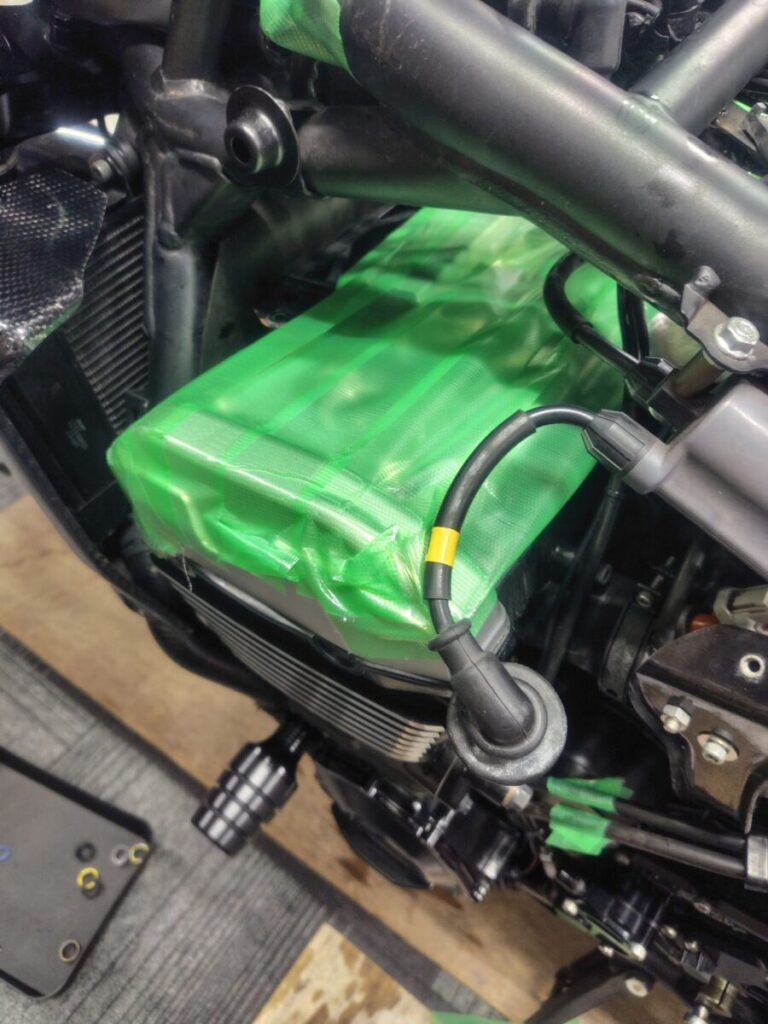
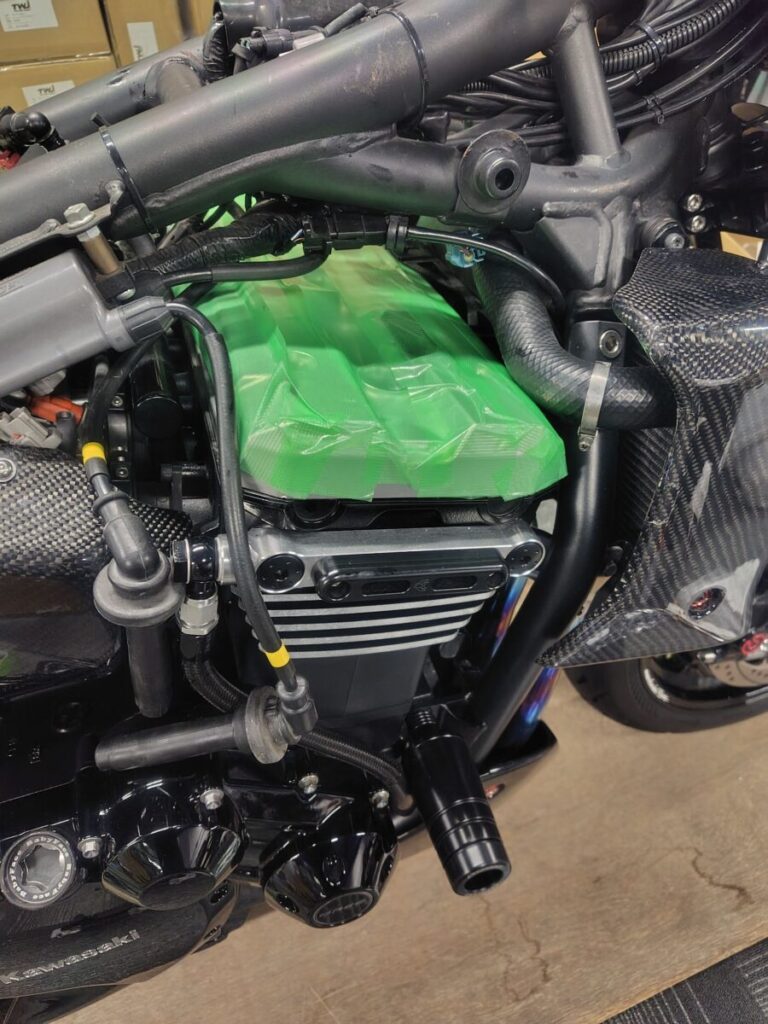
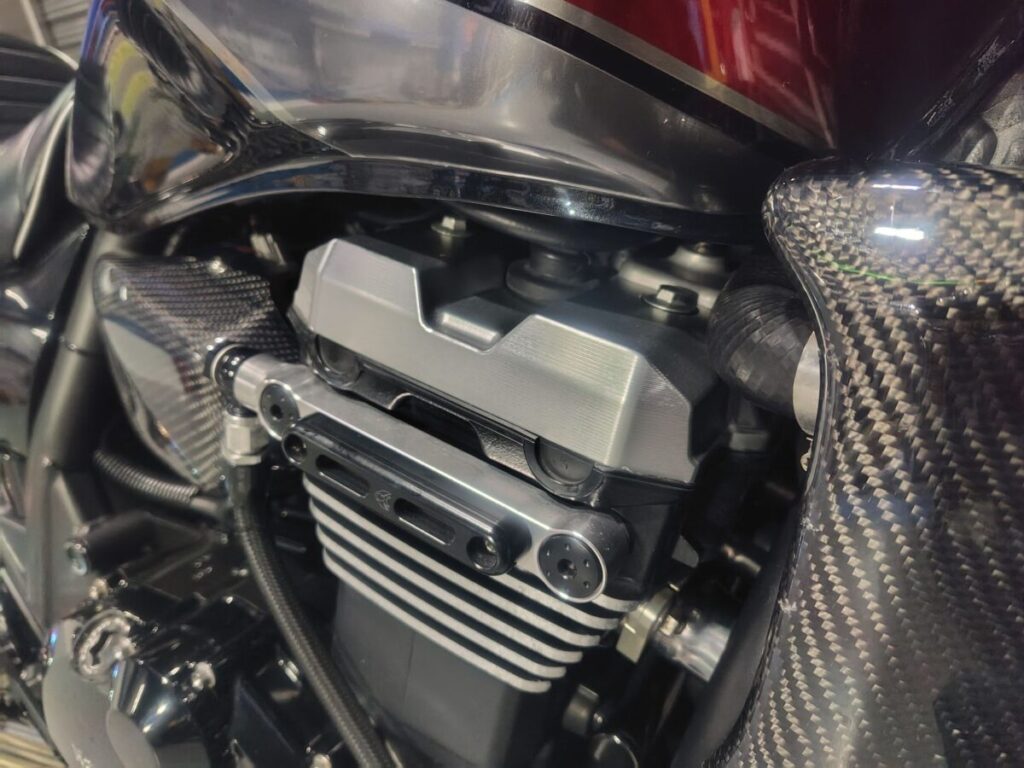
↓組み付ける際はフレームやハーネスに当たったり擦れたりしますので、養生テープで保護します。
↓When assembling, the frame and harness will come into contact with or be rubbed against, so protect them with masking tape.

コメント