
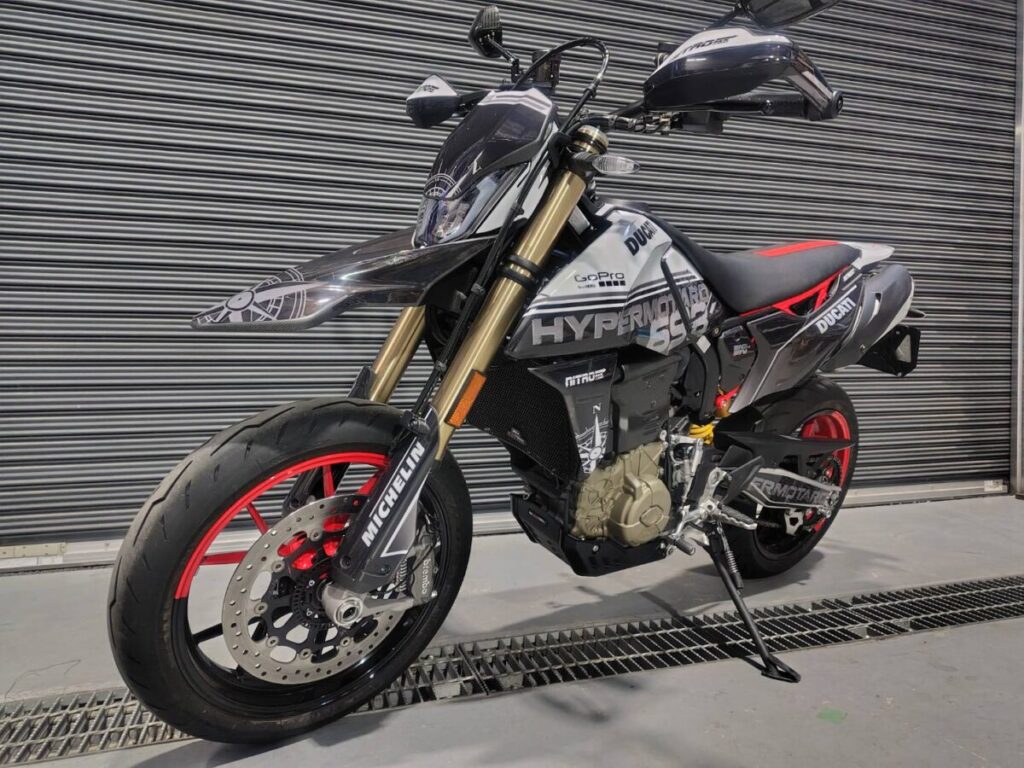
前回に引き続き、HYPERMOTARD 698 MONOのカスタムです。今回は”EVOTECH PERFORMANCE”製アンダーガードの取り付けです。
Continuing from last time, this is a customization of HYPERMOTARD 698 MONO. This time we will install an under guard made by “EVOTECH PERFORMANCE”.
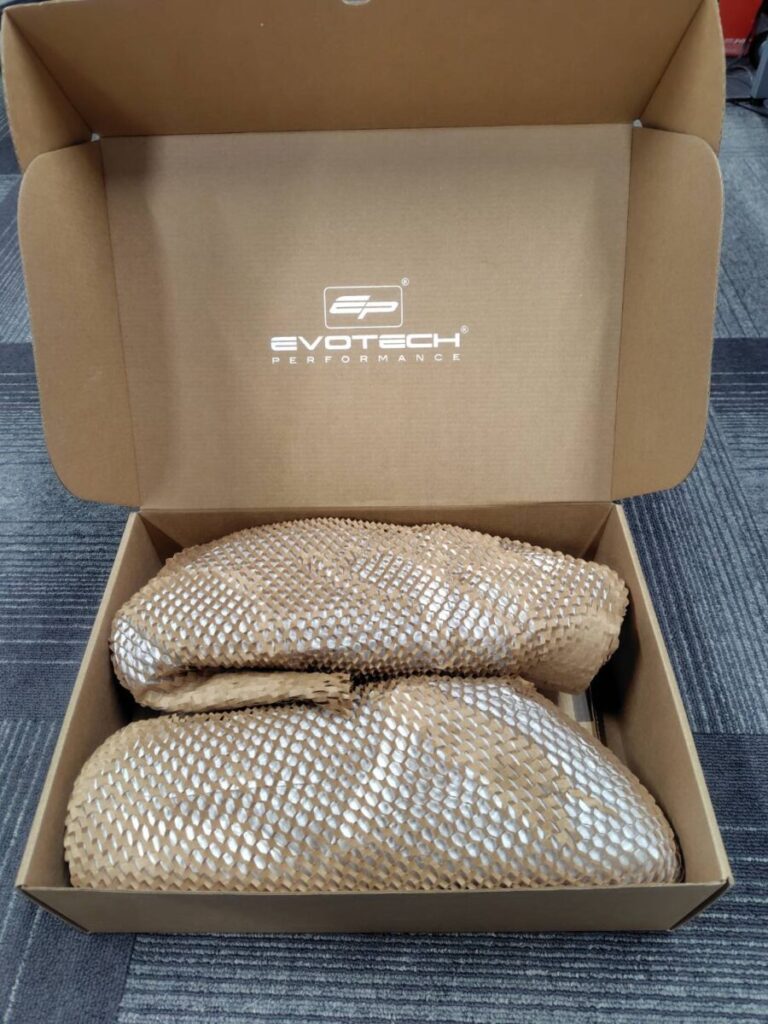
さすが”Made in Germany”だけあって、製品をパッケージから出すまでのワクワク感は昔から変わりません。しかも取説は無し。やはり3R行動の国だけあって、ペーパーレスが進んでいるようです。ただ、この製品は取り付けも簡単にできそうです。
As you would expect from a product that is “Made in Germany,” the feeling of excitement from taking the product out of the package remains the same. And there is no instruction manual. As expected from a country that practices 3R activities, paperless society seems to be progressing. However, this product seems to be easy to install as it is easy to install.
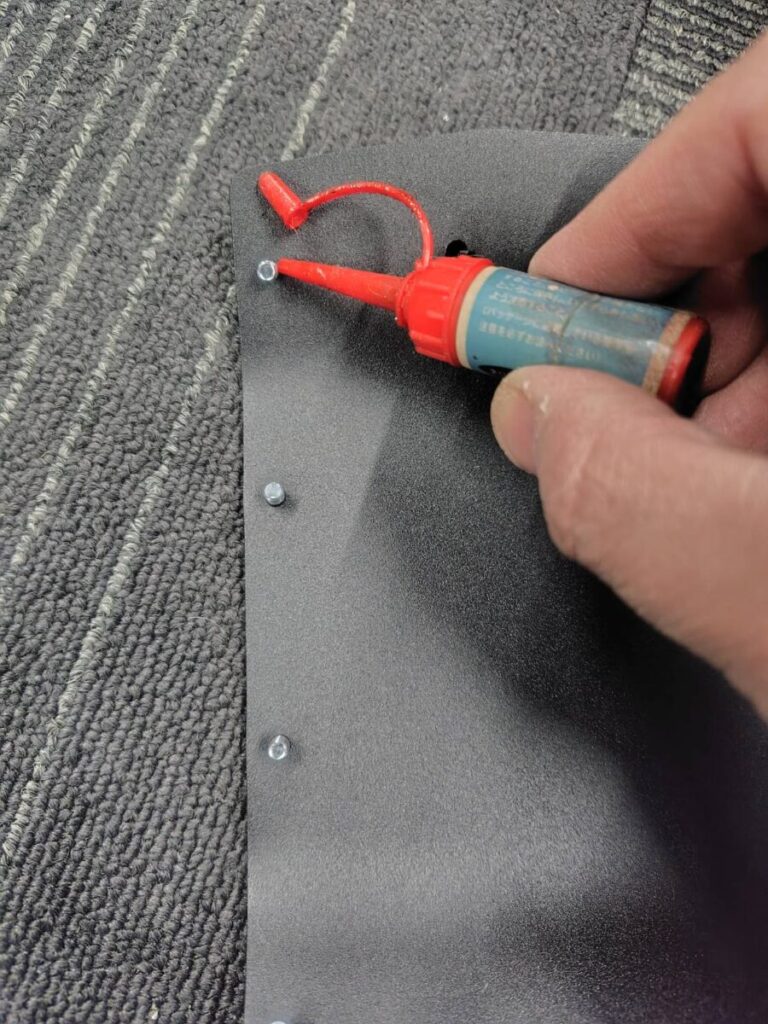
ネジがたくさんあり、ネジロック剤は必須です。
There are a lot of screws, so screw locking agent is a must.

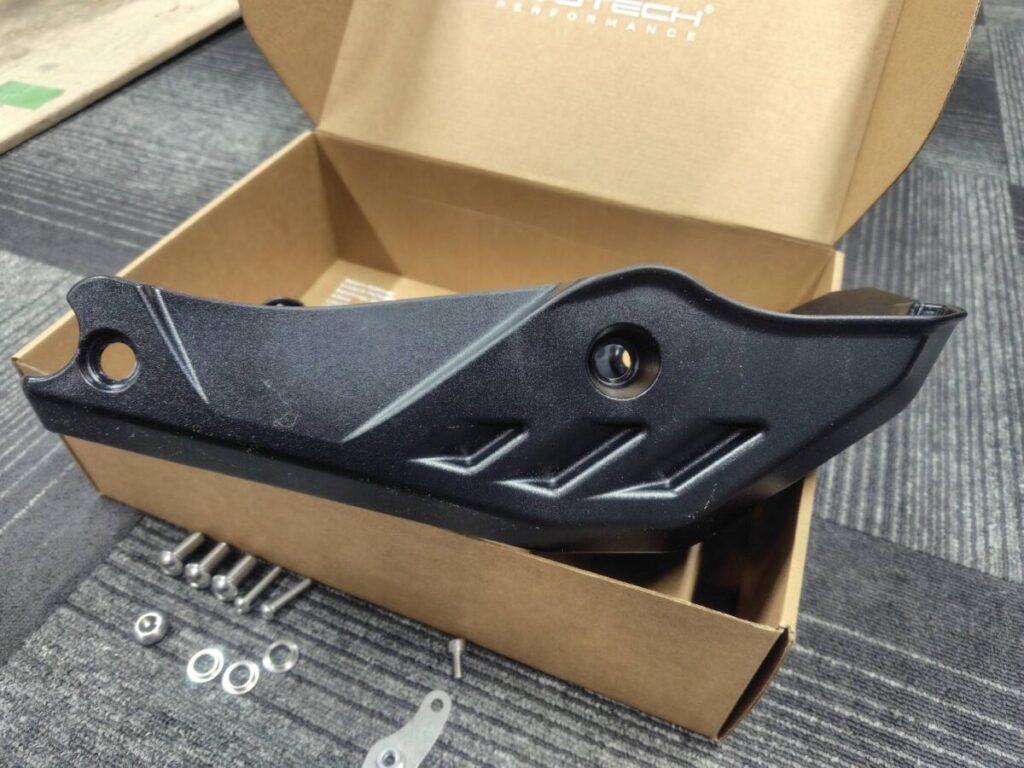
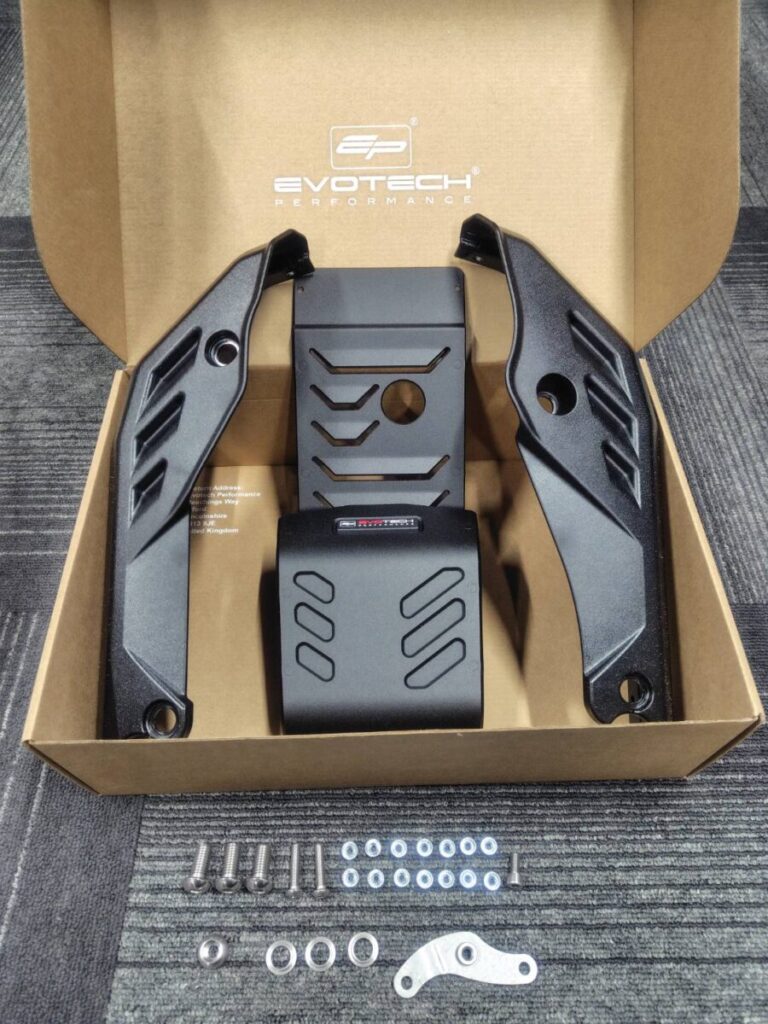
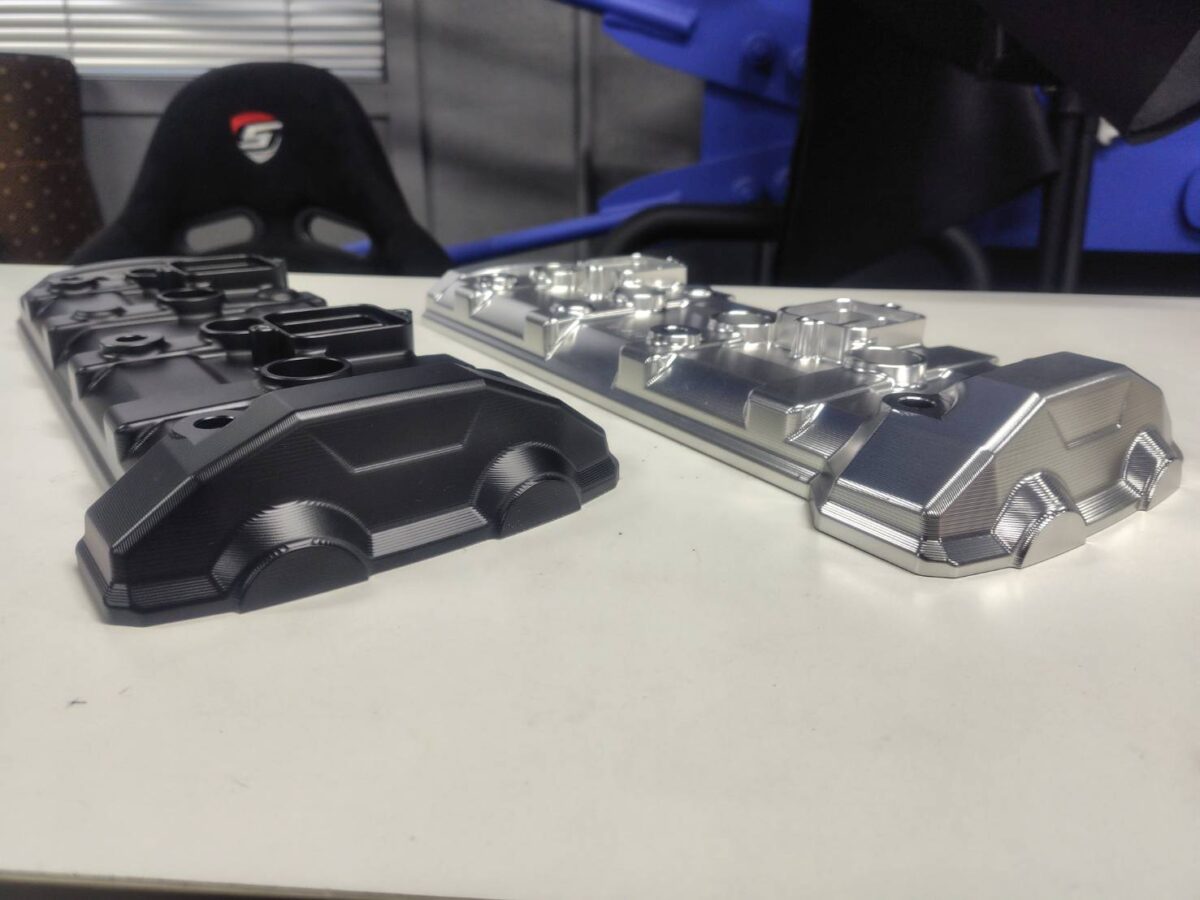
本体を大まかに組むとこんな感じです。
This is what the main body looks like when assembled roughly.
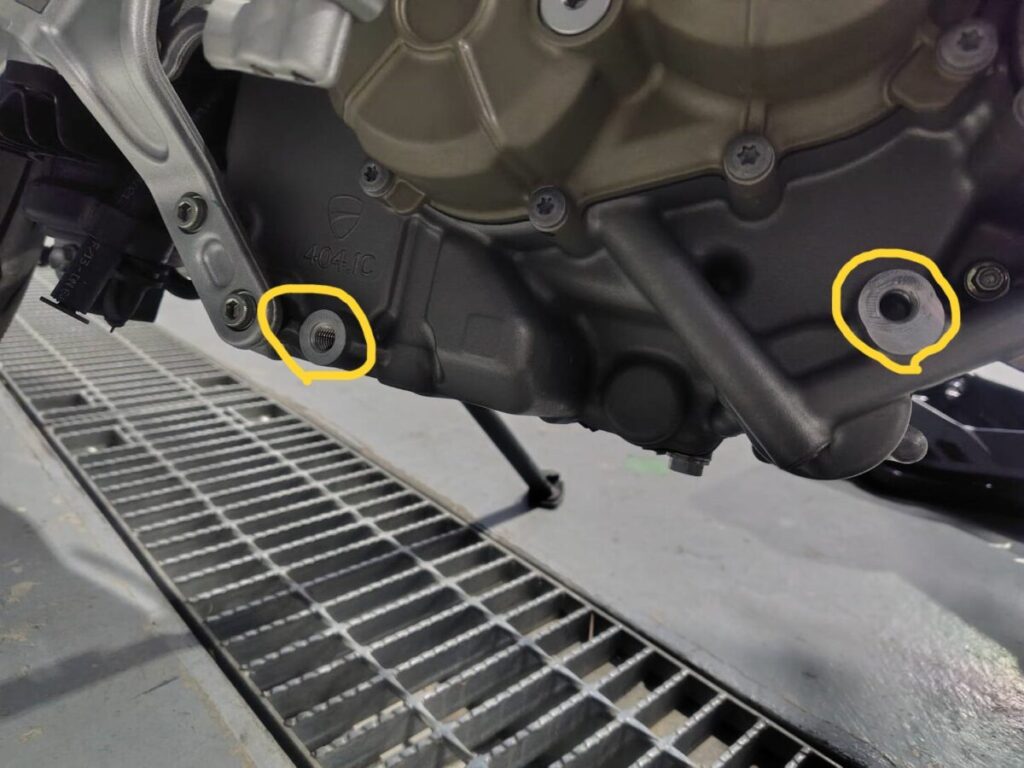
車体に取り付ける穴は全部で5か所です。
↑こちらは右側
There are a total of 5 holes for attaching to the car body.
↑This is the right side
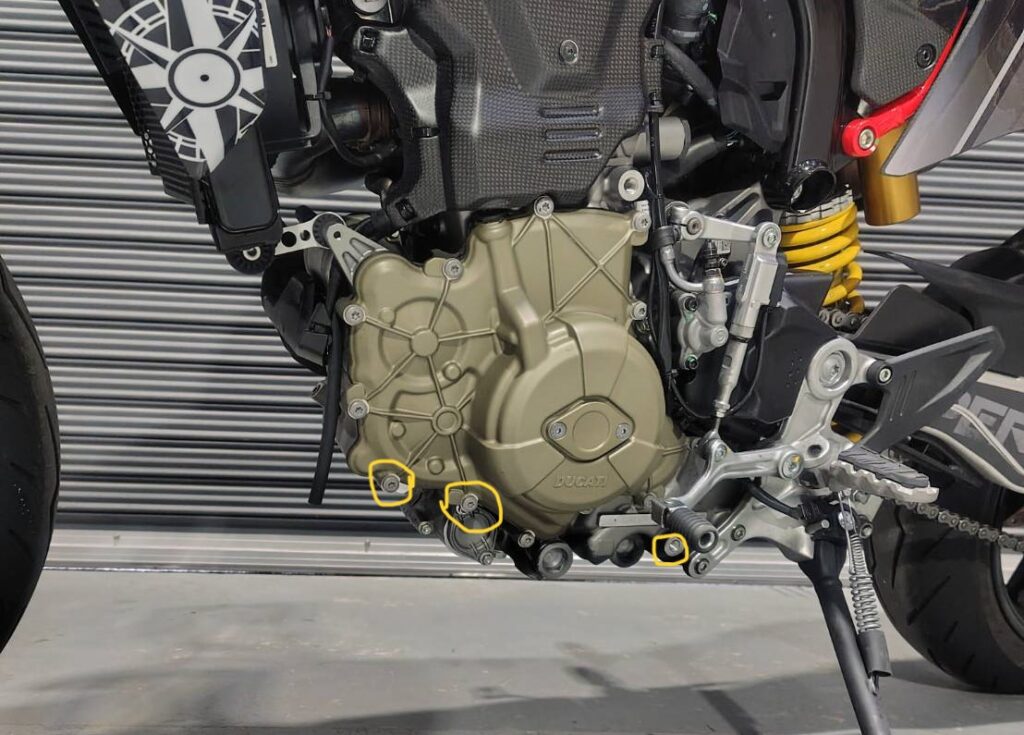
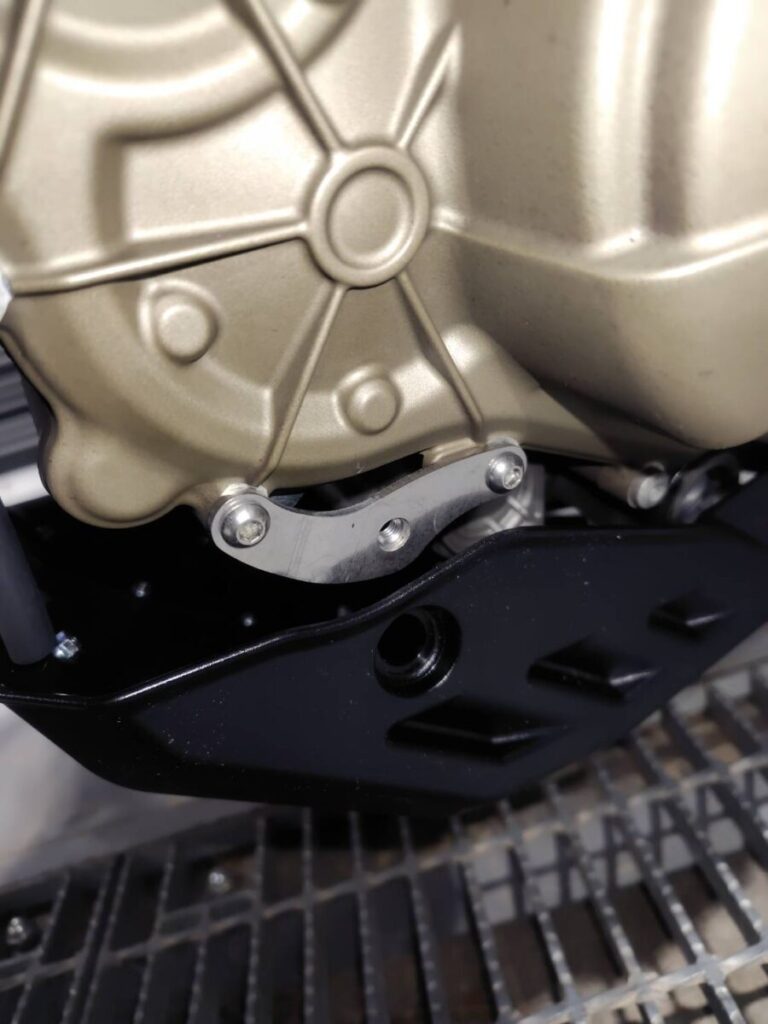
↑こちらは左側。前の二か所はステーを取り付けます。
因みに、エンジンケースボルトはアルミ製。ドゥカティ東京ベイのY氏曰く、ケースボルトは消耗品扱いで一度外すと使いまわしが出来ないとのことです。凡人の私にはドカティーの設計思想が理解しきれない。しかし、それがまた面白く、試行錯誤しながら少しずつ違いを学んでいくのが楽しいと感じます。
↑This is the left side. Attach the brackets to the front two locations.
By the way, the engine case bolts are made of aluminum. According to Mr. Y from Ducati Tokyo Bay, the case bolt is treated as a consumable item and cannot be reused once removed. As an ordinary person, I cannot fully understand Ducati’s design philosophy. However, it is also interesting, and I find it fun to learn the differences little by little through trial and error.
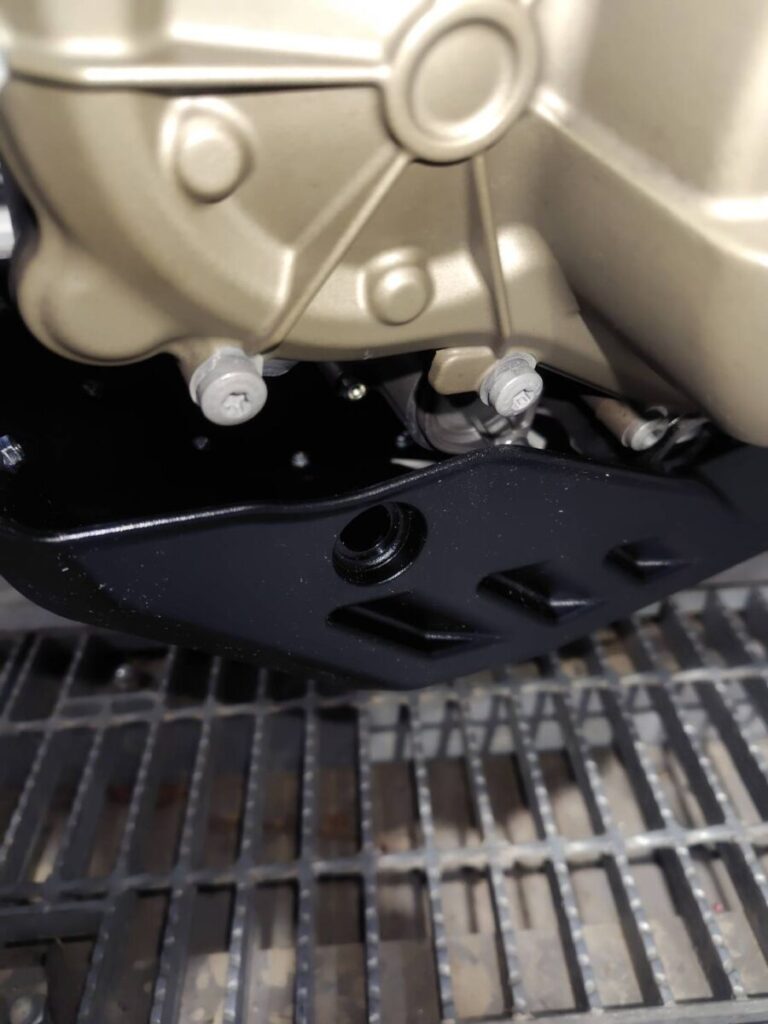
↑こんな感じです。もちろんボルトは付属しています。
↑Like this Of course, bolts are also included.

↑装着前
↑Before installation
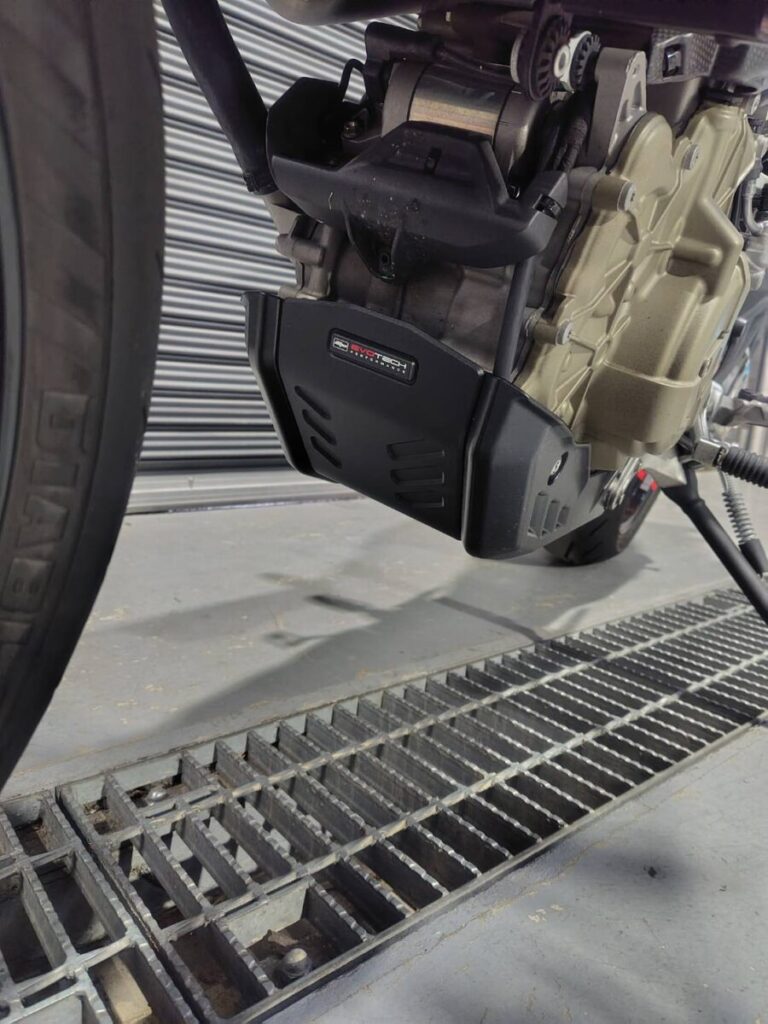
↑装着後
↑After installation
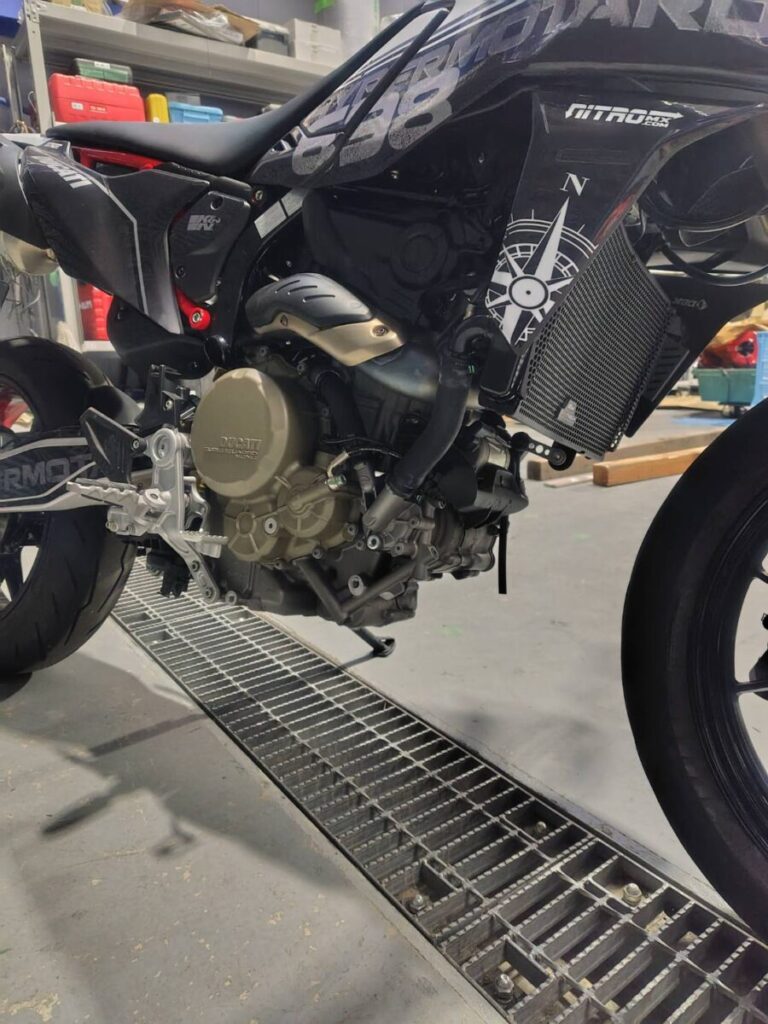
↑装着前
↑Before installation

↑装着後
↑After installation
全体的にフィット感、取り付け時間もスマートでした。
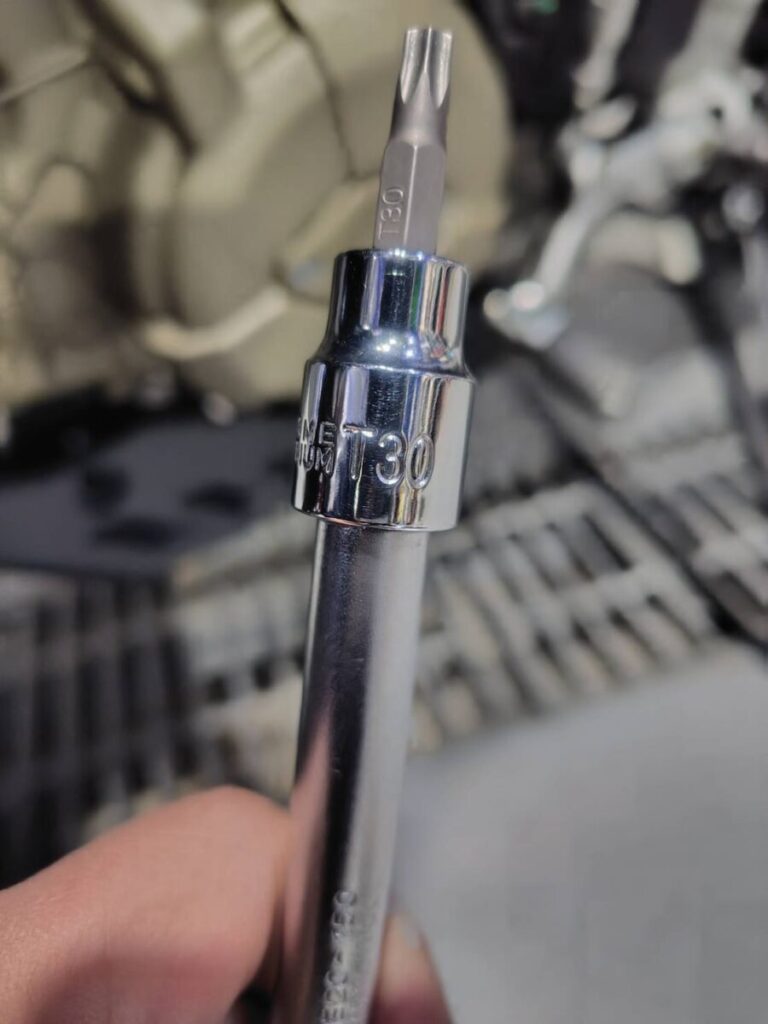
あと、T30のトルクスと、ネジロック剤は用意してくださいね!
Overall fit was good and the installation time was quick.
Also, be sure to have T30 Torx and screw locking agent ready!
コメント