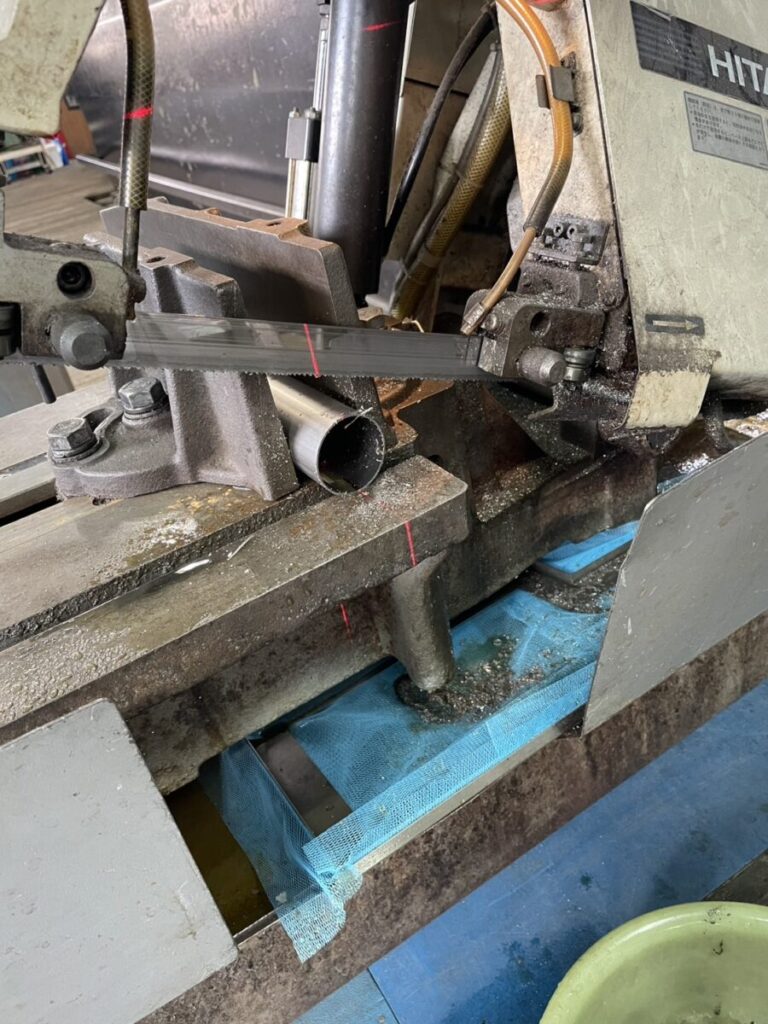
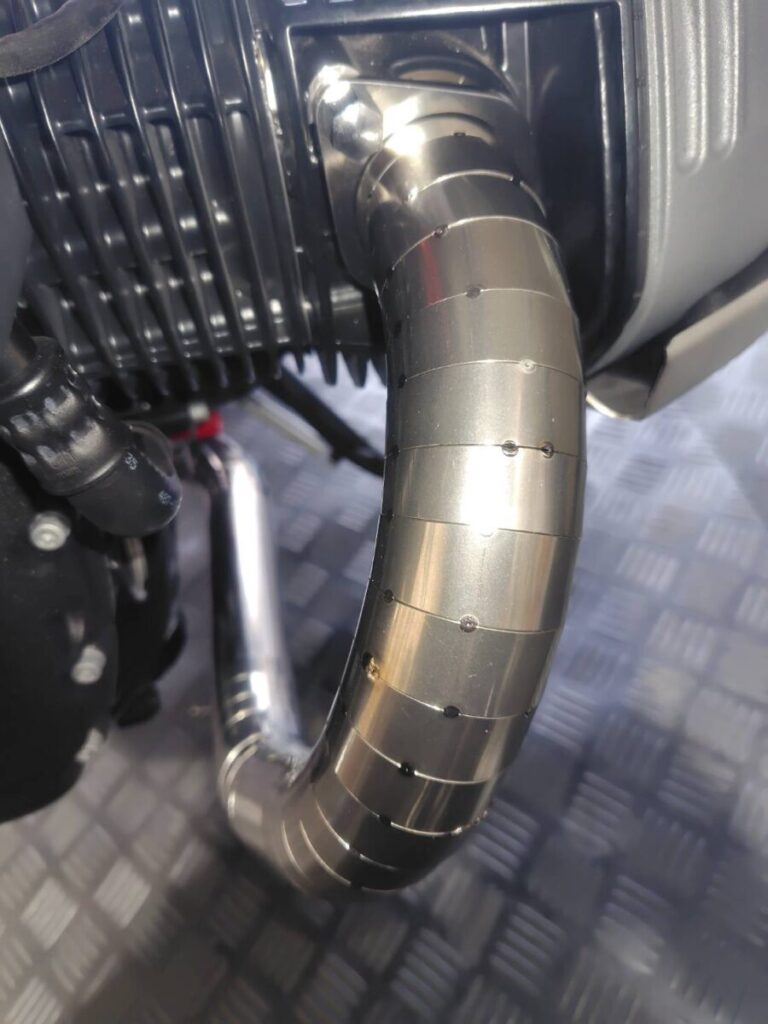
第二弾は、いよいよエキゾーストパイプの製作からスタートです。 今回採用したエキパイサイズは50φ、厚さは1ミリ。曲げ部分は輪切り構造とし、レーザー測定によって精密に採寸・切断を行います。 もちろん、耐熱性にも優れており、サーキットユースにおいても安心してご使用いただける仕様です。
In this second installment, we begin with the fabrication of the exhaust header. We’ve selected a pipe diameter of 50mm with a wall thickness of 1mm. The bends are constructed using a pie-cut design, precisely measured and cut with laser technology. Naturally, the material offers excellent heat resistance, making it perfectly suited for demanding track conditions.
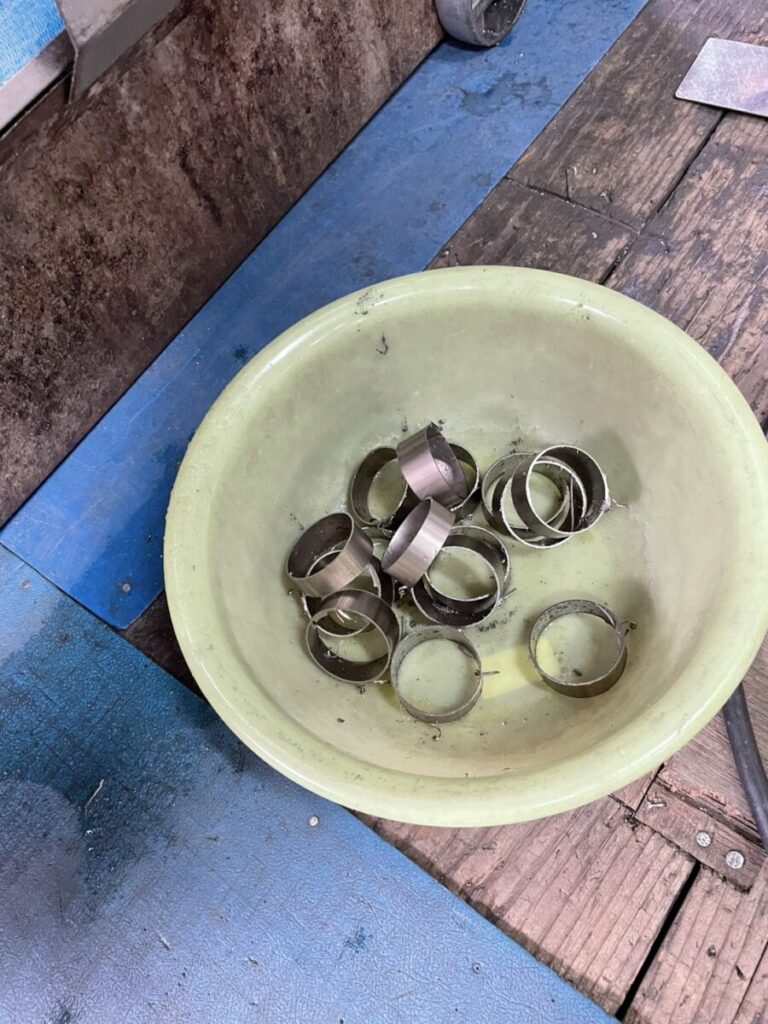
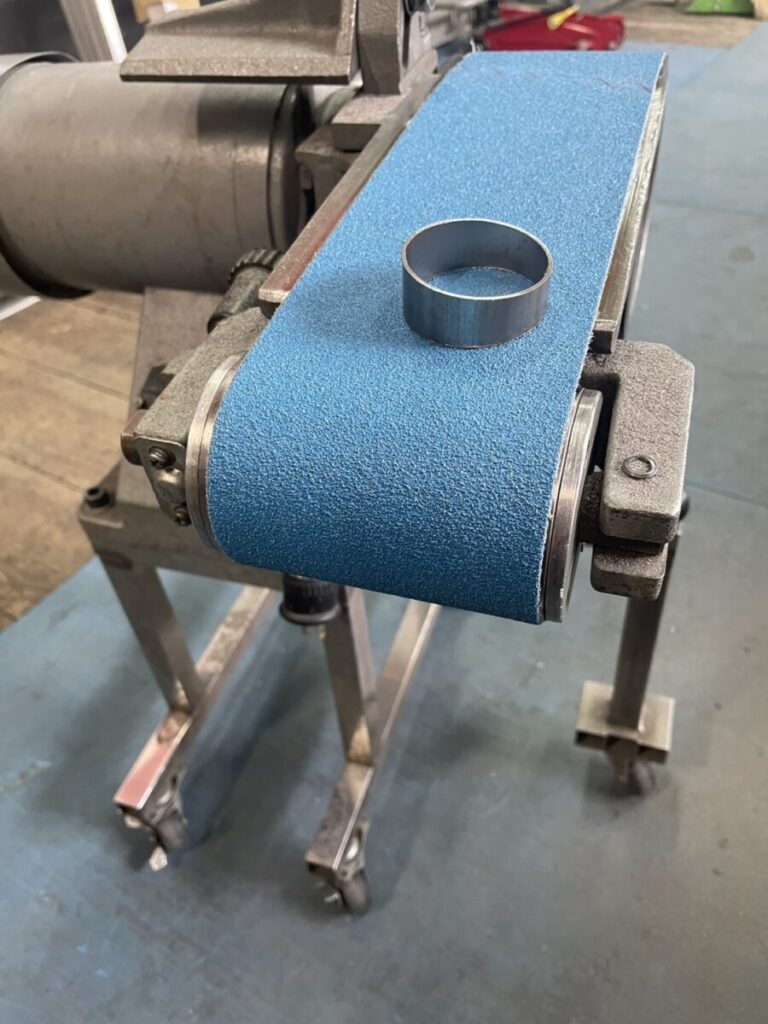
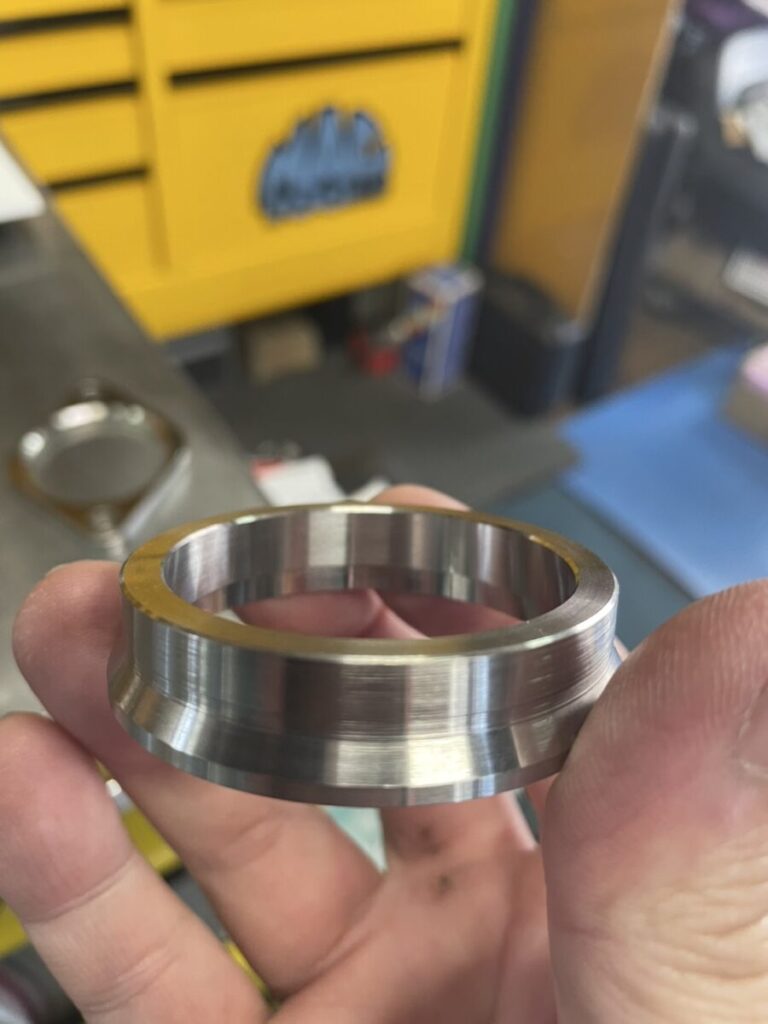
↓カット後の面取りです。
↓ Chamfering after cutting.
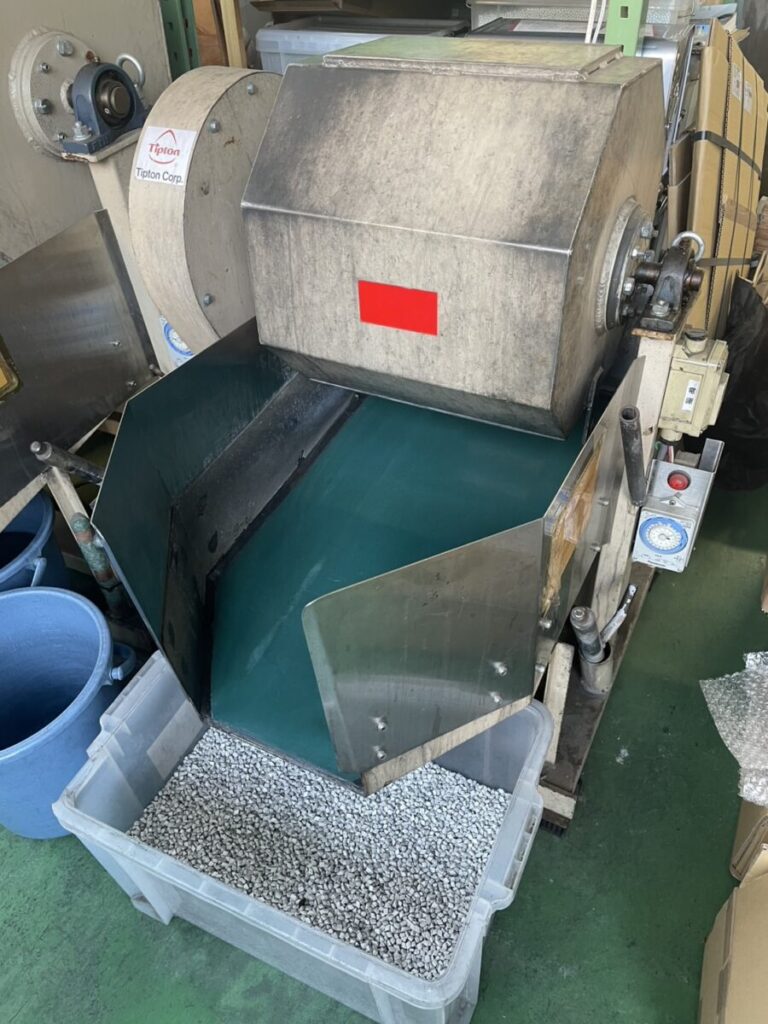
↓実はバレル研磨も行ったのですが…工場についたころには終わって片付けられていました
(´;ω;`)
↓Actually, we did some barrel polishing as well, but by the time we got to the factory it was finished and put away.
(´;ω;`)
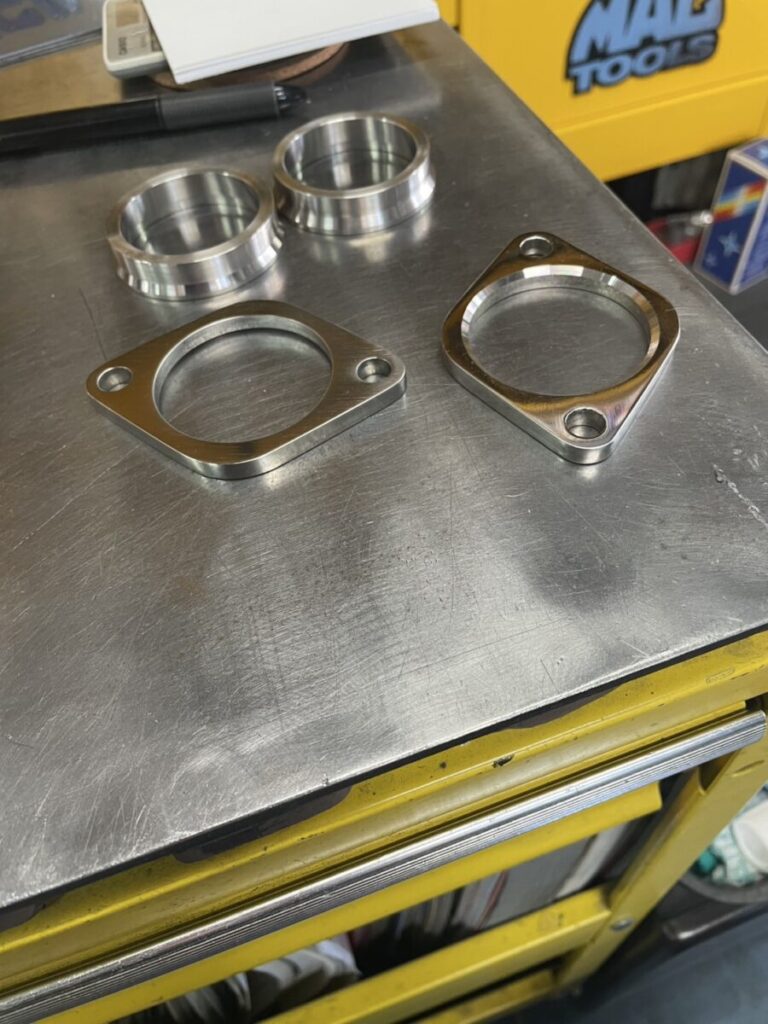
↓フランジ部分は、もちろんチタンです。
↓The flange part is, of course, titanium.
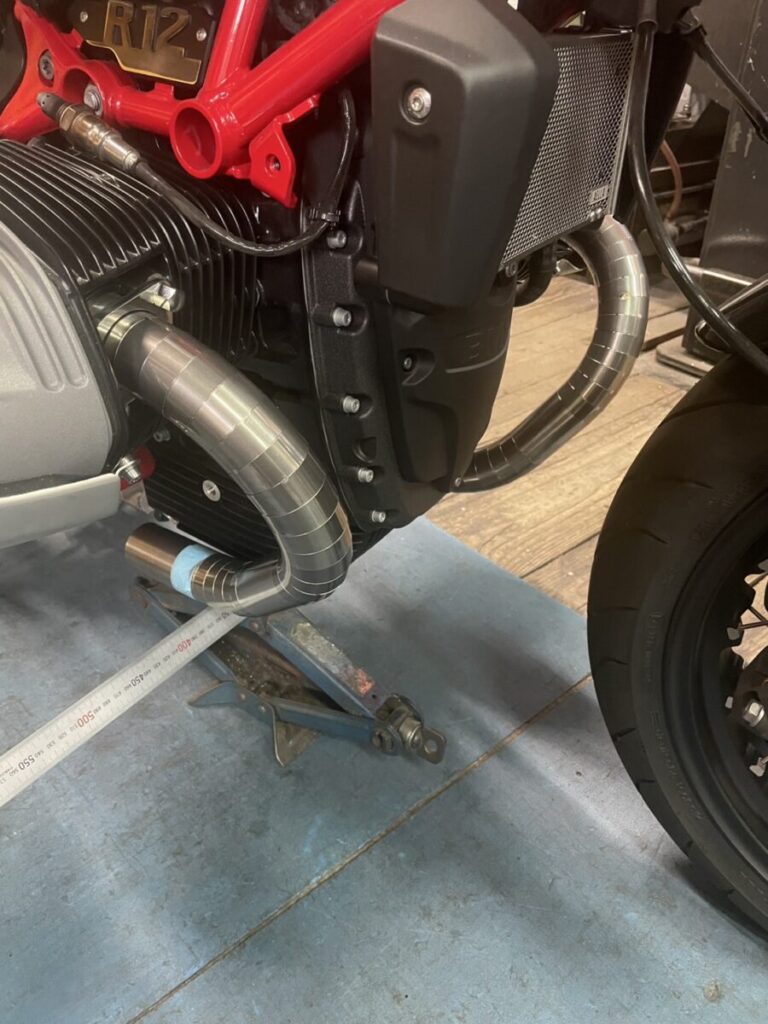
↓フランジ製作、パイプの切断とバレル研磨を終えた後、仮付け作業に入ります。 小さな点付け溶接を施しながら、装着状態を確認し、全体のバランスを丁寧に見極めていきます。
↓After cutting the pipes and completing barrel polishing, we move on to the mock fitting stage. Using small tack welds, we carefully check the fitment and assess the overall balance of the setup.

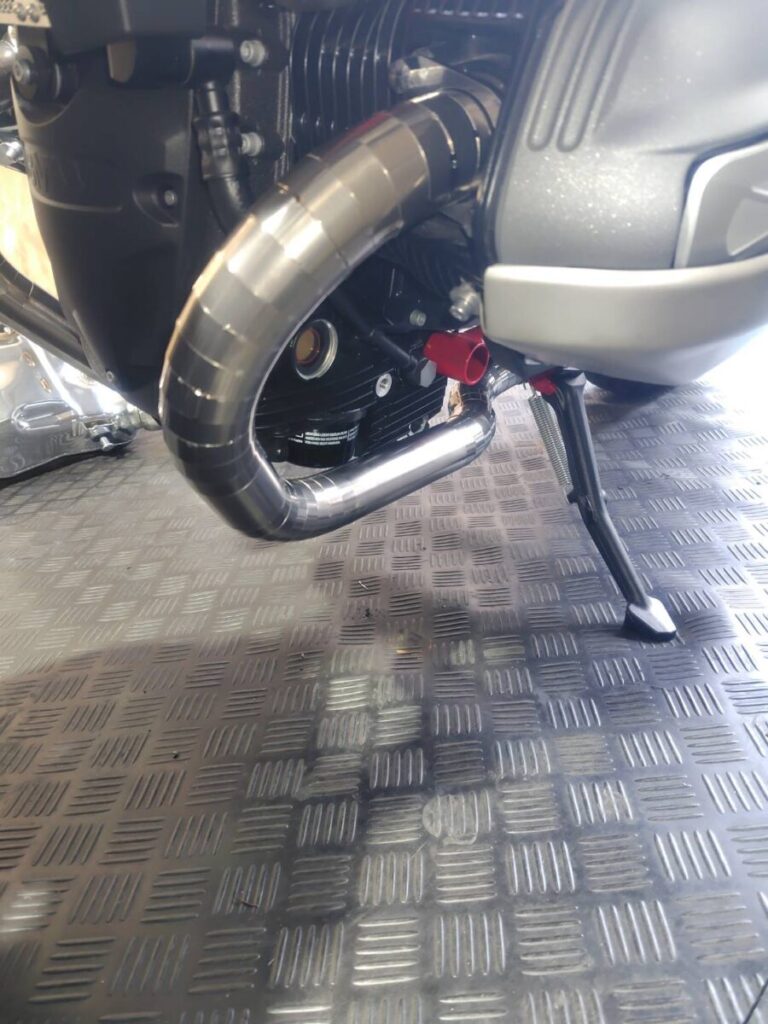
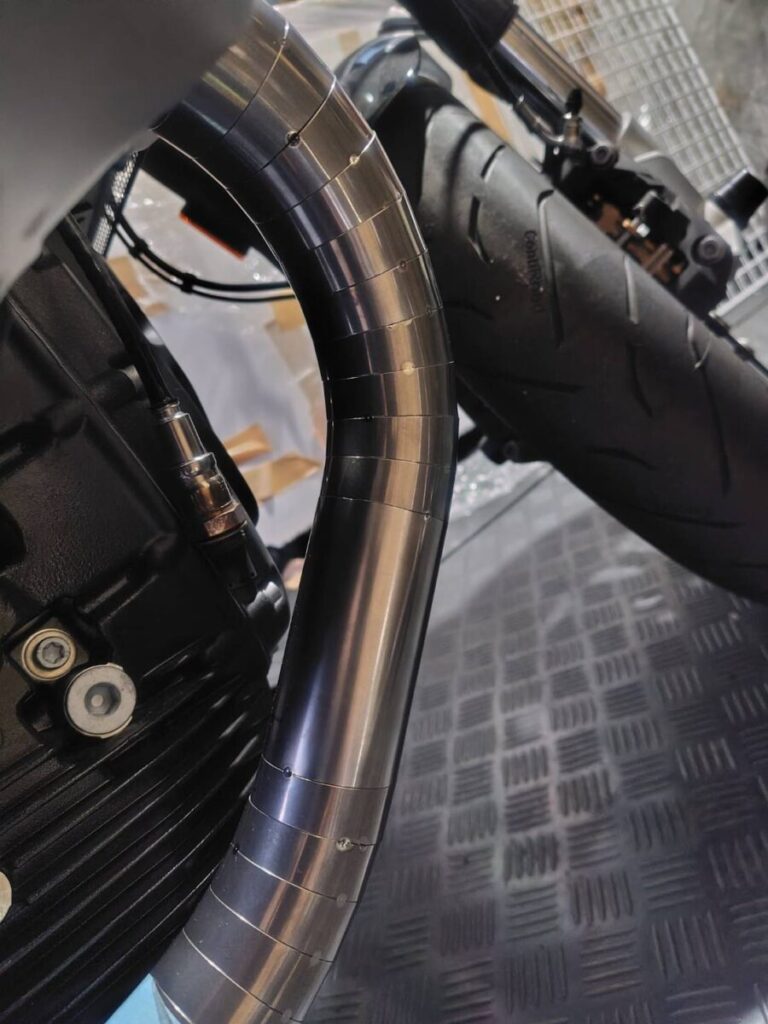
↓ボクサーツインの場合、左右のシリンダーに前後方向のオフセットがあるため、管長が左右で同じであっても、右側のエキパイはわずかに前方に突出する形となります(画像では少々分かりづらいかもしれませんが…)
↓With a boxer twin engine, the left and right cylinders are offset front-to-back. As a result, even with equal pipe lengths, the right-side header naturally extends slightly forward—a subtle detail that may be hard to spot in photos.
次は、センターパイプ製作に進みます。
Next we will start making the center pipe.

コメント